
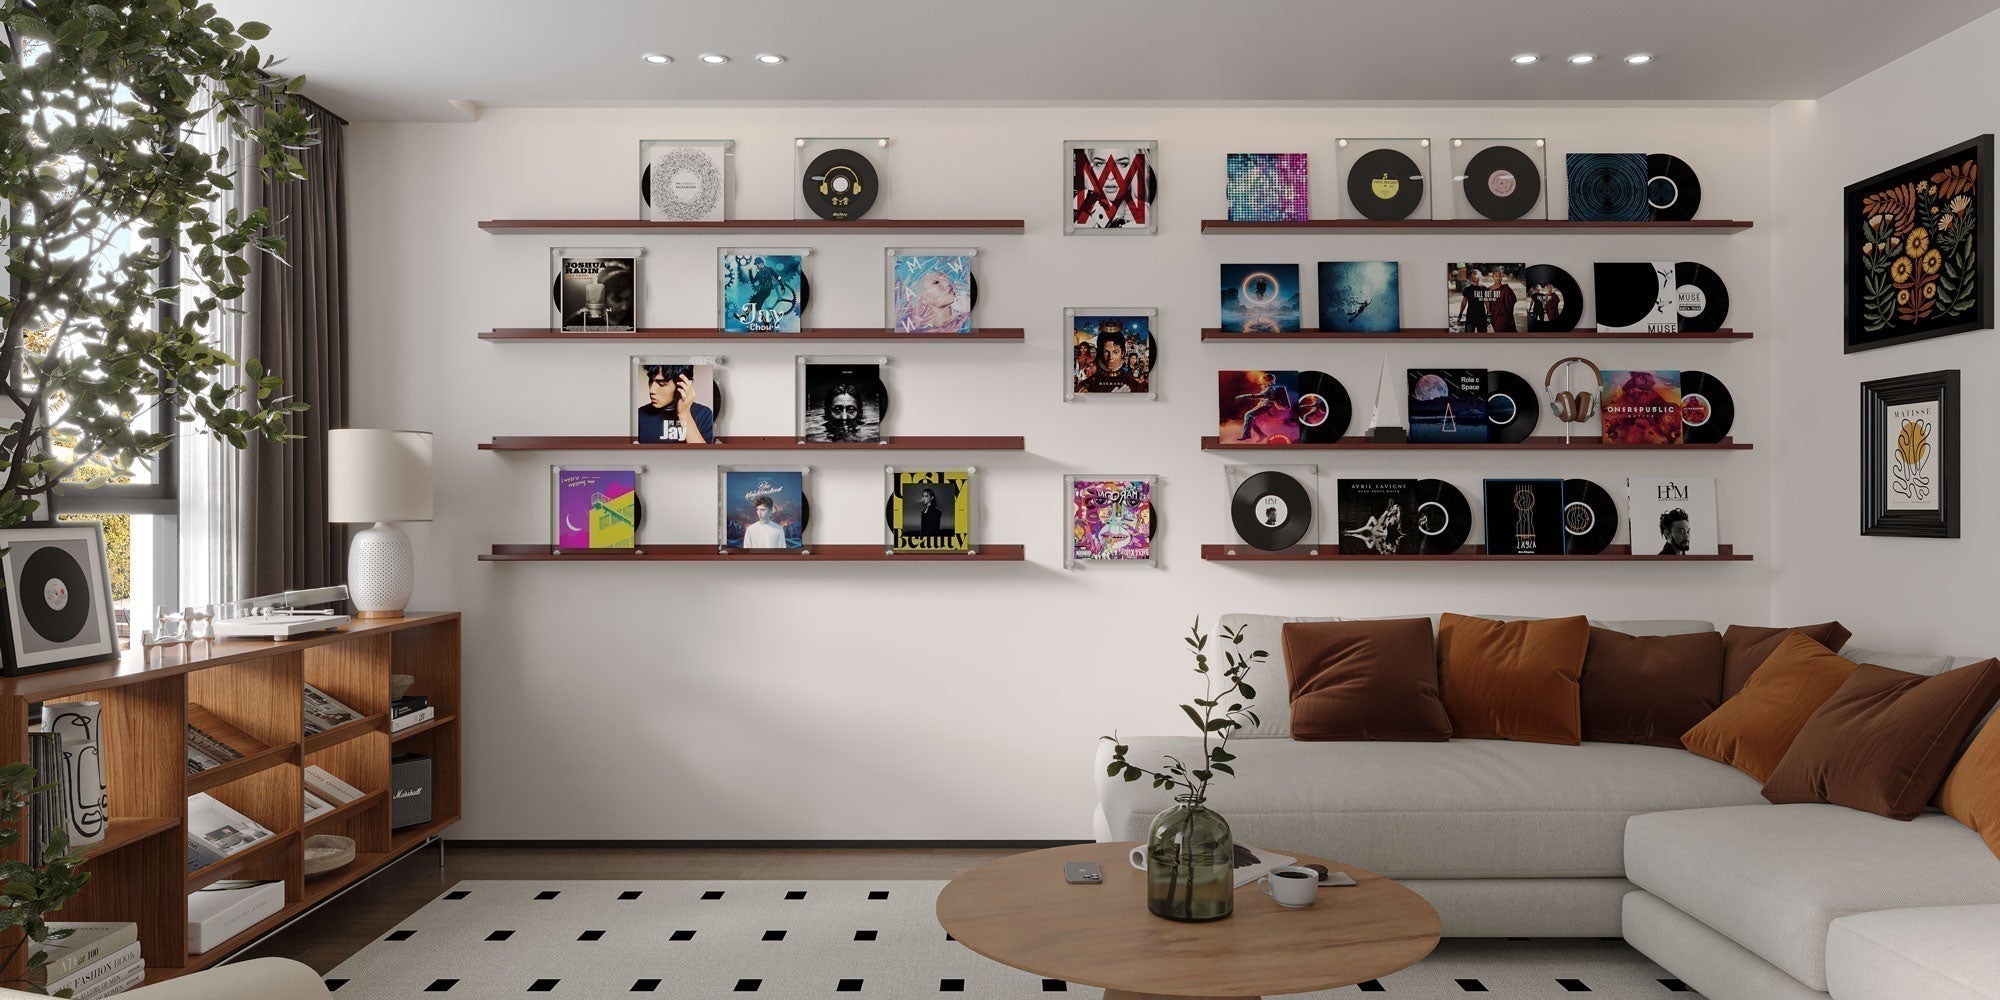
Layout rules, real spacing numbers, and a way to build a gallery wall with picture ledges and a magnetic rail instead of a nail per frame.
You've already decided on the gallery wall. What you have is a stack of frames leaning against the closet, a few prints that never made it out of their mailing tubes, maybe a record collection that's been sitting in a milk crate since 2019. What you don't have is a starting point — a way to turn what's already sitting around into a wall that looks like it was planned.
The last thing you want is to spend a whole weekend arranging everything you've been saving and end up with something that reads as chaotic instead of the wall you had in mind. That outcome isn't random — it comes down to spacing and layout, both of which you can plan for before you put a single hole in the wall.

Jump to a topic:
- What Is a Gallery Wall?
- Gallery Wall Mounting: Fixed or Ledge-Mounted
- Classic Gallery Wall Layouts
- Gallery Wall Spacing and Sizing
- Plan It On Paper Before You Touch the Wall
- Picture Ledges: The Layered, Swap-Anytime Alternative
- Your Gallery Wall Doesn't Have to Be All Frames
- No Frame Needed: Edo
- Room-by-Room Gallery Wall Ideas
- Gallery Wall Accessories That Make It Easier
- FAQ
What Is a Gallery Wall?
A gallery wall is a grouping of framed art, photos, or objects arranged together on a single wall to function as one cohesive display rather than scattered individual pieces. It can be built with fixed mounting, a picture ledge, or a mix of both.

Gallery Wall Mounting: Fixed or Ledge-Mounted
Before you buy a single frame, decide how you're going to mount the wall. The decision usually comes down to two approaches, and they trade off differently.
- Fixed (a nail or hook per frame) requires the most commitment, since every piece gets its own hole — which makes sense once a collection is basically finished and unlikely to change. The tradeoff: changing your mind later means new holes and a patch-and-touch-up job before you try again.
- Ledge-mounted (Fat Lippie, Wave, Bubble, Mountain, and the Mini Wave and Mini Bubble versions) is a narrow shelf — usually just a few inches deep — that frames and art lean against instead of hang from. The ledge itself gets a couple of fixed anchors, but nothing resting on it is permanently attached, so one mount holds as many swaps as you want to make. That makes it the right call for a collection that keeps growing, kids' art, or anything seasonal. The tradeoff: deeper objects are limited by ledge depth, and a wall of identically styled ledges can start to look like a store display.
The two aren't mutually exclusive. Hang a couple of fixed pieces above or beside a ledge instead of resting everything on the shelf, and the wall reads as collected over time rather than assembled from one repeated shape.

Classic Gallery Wall Layouts
Whichever mounting method you pick, the layout still follows a handful of proven patterns.
- Grid. Same-size frames set in evenly spaced rows and columns. It's the most forgiving layout for beginners, because the math does the work for you — measure the gap once, then repeat it everywhere.
- Salon or eclectic. Mixed sizes and mixed frame finishes, sometimes filled in gradually over weeks or months. It looks the most "collected" of the four layouts, but only when a unifying thread — a color palette, one frame finish, a single subject — holds the mix together. Skip that thread and it looks random instead of intentional.
- Symmetrical. A mirrored arrangement built around a center point, usually anchored by one large piece in the middle. It reads calmer and more formal than a salon wall.
- Linear or row. A single horizontal line of pieces, best suited to a long, narrow wall — above a console, along a staircase, over a headboard.

Gallery Wall Spacing and Sizing
These are the numbers that separate an intentional gallery wall from an accidental one — start your planning here.
| Spec | Recommendation |
|---|---|
| Gap between frames | 2 to 4 inches, kept consistent across the whole wall |
| Center of the whole arrangement | 57 to 60 inches from the floor — average eye level |
| Where to start | Your largest or most important piece, placed near the middle (not dead center), with everything else built outward from there |
| Size hierarchy | Largest pieces anchor the wall; smaller pieces fill gaps and edges |
| Mixing frame finishes | Stick to two, max, or it starts to look unplanned |
Plan It on Paper Before You Touch the Wall
This step is non-negotiable: lay your pieces first, exactly as you want them on the wall. The floor is a great surface for this step. You could even trace each frame onto kraft paper, cut out the shapes, and tape them up on your wall as a stand-in. Live with it for a day or two — walk past it, look at it, and imagine your stuff on the wall — before you commit to a single hole. If you're mixing ledges with fixed pieces, this step matters less for the ledges, since you can move those around after mounting. But it's still a great way to plan where the fixed pieces go — those are permanent anchor points.
Picture Ledges: The Layered, Swap-Anytime Alternative
The Fat Lippie Picture Ledge is the workhorse here — available in 3-, 5-, and 7-inch depths and any length from 12 to 84 inches, in 28+ powder-coated colors. The depth choice is itself a design decision most gallery wall guides skip entirely: 3 inches is plenty for leaning frames and flat art, while 5 and 7 inches open the ledge up to deeper objects — records, stacked books, small sculptural pieces.
Shelfology's whole picture ledge lineup runs in 30+ colors across steel and hardwood, and it includes shaped options beyond the standard straight-edge ledge: the Wave Picture Ledge and Mini Wave, the Bubble Picture Ledge and Mini Bubble, and the Mountain Picture Ledge. The shape is purely a styling choice — a wave, scallop, or zigzag edge on the same hot-rolled steel construction — so it's a way to pick a personality for the wall without changing how it functions.
Picture ledges are still very much in style heading into 2026. Design coverage this year has pointed to them as the thing replacing rigid, fully-committed gallery walls, precisely because they let you keep editing the display long after it's "done."

Your Gallery Wall Doesn't Have to Be All Frames
Here's the part most gallery wall content misses completely: a wall doesn't have to be exclusively flat art to read as a gallery wall. Some of the most interesting ones aren't.
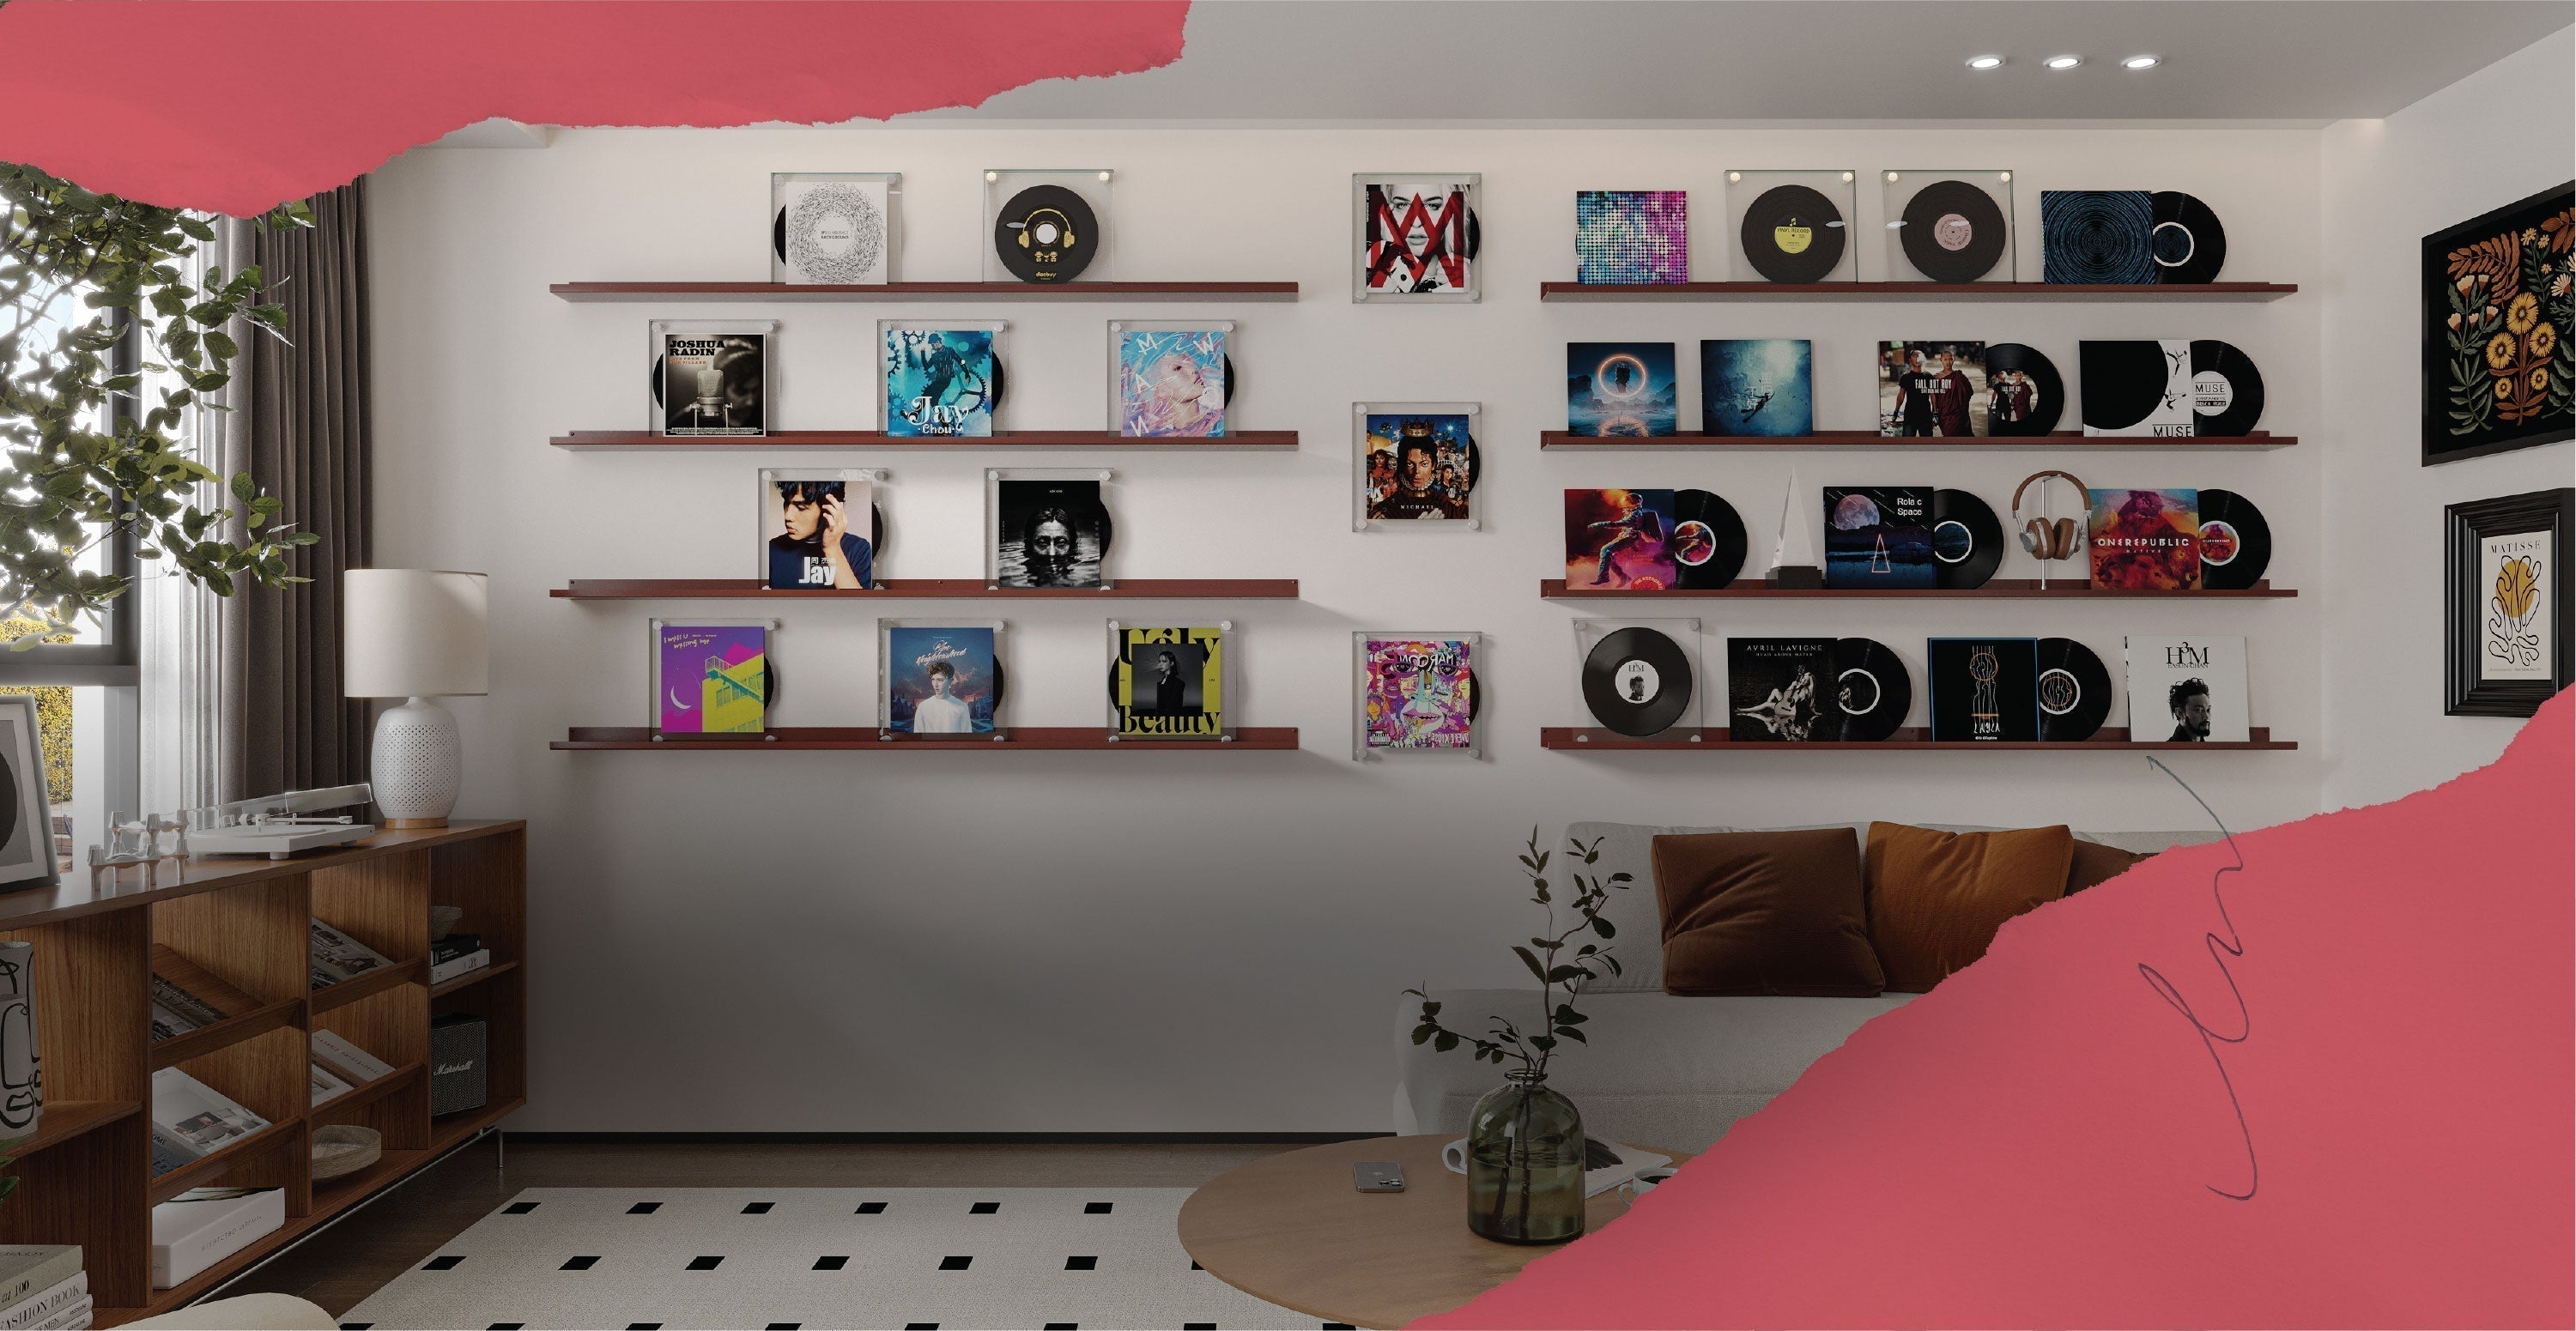
Got a record collection or a stack of books you never see because they're spine-out on a shelf? The Issue Book + Magazine Wall Display is all-steel and built front-facing, for anything from books and magazines to records, catalogs, zines, and art prints. It comes in 24-, 36-, and 48-inch lengths, all at 12.5 inches tall. The Edit Book + Magazine Display does the same job on a solid White Oak or Walnut wall cleat instead of an all-steel one, and it's designed to stack so you can run covers up a wall in tiers. Either way, album art and book covers are graphic design — a face-out display just treats them like the art they already are.

Need something small to break up a run of frames or ledges? The Floaty Mini Solid Wood Floating Shelf is a 5-by-5-inch shelf that holds up to 20 pounds — plenty for a single sentimental object, a small plant, or one figurine tucked between larger pieces.
Got an odd gap in the layout that a full-size ledge won't fit? The Shortie Walnut Wall Shelf is a small solid-hardwood shelf available in 4- or 6-inch depths, each offered in 18-, 21-, or 24-inch lengths. Its own product description puts it plainly: built for "gallery walls, grid stacks, or symmetrical pairs."
Building this out in a kid's room or playroom? The Tony Tony Tony Concave Shelf and Tony Tony Tony Convex Shelf are sold as a matched pair for a reason: mount them together and the two curves read as one continuous wave, which a pair of flat shelves can't do. Buy them individually, or as the Tony Tony Tony Shelf Bundle if you know from the start you want the set.
Mixing mediums like this also breaks up a run of matching ledges — a record, a stack of books, one small object shelf — so the wall reads as collected instead of staged.
No Frame Needed: The Edo Print Hanging System
If part of the hesitation is the "right" frame for a print or other flat art piece you want to display, the Edo Print Hanging System is a unique solution — it's built to mount a single piece of art directly, no frame involved. One steel bracket mounts to the wall and marks the top edge of your print; a magnetic hardwood coverplate, gripped by CatTongue anti-slip tape, snaps over it and clamps the print in place. A second bracket-and-coverplate pair clips onto the bottom edge the same way. No frame, and no nail through the print itself.
Edo's magnets hold prints up to 48 inches wide, and it installs in minutes with the wall fasteners included in the box. It's a patent-pending design — and easily achieves a level of engineering chic that a binder clip and a thumbtack never could.
The real advantage that Edo brings to a gallery wall specifically: once the top bracket is installed, swapping the print itself doesn't require that you touch the wall at all. Just pop off the coverplates, swap in a new piece, snap them back — no new nail, no patching, no frame to replace.

Room-by-Room Gallery Wall Ideas
The "right" combination and layout for your gallery wall changes from room to room. A wall you glance at for two seconds on the way up the stairs works differently than one you're staring at from the couch every night — and a nursery has different practical demands than a dining room.
| Room | Height / Bottom-Edge Guidance | Width or Spacing | Recommended Products |
|---|---|---|---|
| Living room | Bottom edge 6–8 inches above a tall sofa back (over 36 inches), or 8–10 inches above a low-profile one | About two-thirds the width of the furniture underneath | 5-inch or 7-inch Fat Lippie, Edo-mounted anchor print |
| Dining room | Bottom edge 6–10 inches above a buffet or sideboard | Width proportional to the furniture underneath | Issue Book & Magazine Display (steel), Edit Book & Magazine Display (wood cleat) |
| Bedroom | 8–12 inches of clearance above the headboard | Two-thirds to three-quarters of the bed's width | 3-inch deep Fat Lippie, Floaty mini floating shelf |
| Kids' room or nursery | 6–10 inches above a dresser or changing table, or ~55–58 inches centered if nothing is underneath | N/A — keep clear of crib and changing table entirely | Wave, Bubble, or Mountain Picture Ledge (Mini sizes available), Tony Tony Tony Bundle |
| Home office | Varies by wall: bigger and more personal opposite the desk, simpler on the wall behind your chair (visible on video calls) | N/A | Shortie Walnut Wall Shelf run, Floaty Mini shelf |
| Entryway or hallway | Anchor piece at the point visible from the doorway or far end of the hall | Tighten spacing to 2–3 inches | 3-inch depth Fat Lippie, Edo-mounted print |
| Stairs or stairwell | ~57–60 inches measured up from each stair tread, center line parallel to the handrail | Or group in small clusters at every second or third step | 3-inch depth Fat Lippie, individually Edo-mounted prints |
Living Room
A gallery wall above a sofa or console needs to harmonize with the furniture below it: aim for roughly two-thirds the width of the furniture underneath, with the bottom edge of your gallery placed roughly 6 to 8 inches above a tall sofa back (over 36 inches) or 8 to 10 inches above a low-profile one. That's plenty of room for a 5-inch or 7-inch depth Fat Lippie, with a large-format Edo-mounted print as the anchor piece. See more on our living room shelving ideas page.

Dining Room
The same furniture-relative sizing applies above a buffet or sideboard: bottom edge 6 to 10 inches above the surface, width proportional to what's underneath. Our Issue Book & Magazine display features an all-steel build that would be a visually interesting feature in a modern dining room; alternatively the Edit Book & Magazine Display features a hardwood cleat that would be the better match if the buffet underneath it is wood. See more on our dining room shelving ideas page.

Bedroom
Leave 8 to 12 inches of clearance between the top of the headboard and the bottom of the display — close enough to feel connected to the bed, far enough that it's not getting knocked every time you make it — and aim for two-thirds to three-quarters of the bed's width. Going the fixed route directly above where you sleep means using hardware rated well above each piece's actual weight, with two mounting points per frame instead of one so it doesn't slowly rotate out of level over time. A 3-inch deep Fat Lippie and/or one of our Floaty mini floating shelves would perfectly complement your bedroom furniture and are great choices for quietly displaying something sentimental instead of crowding the wall with frames. See more on our bedroom shelving ideas page.

Kids' Room or Nursery
Base the height on the furniture in the room instead of the standard eye-level rule — 6 to 10 inches above a dresser or changing table, or around 55 to 58 inches centered if there's nothing underneath. That keeps edges and other surfaces safely out of reach of your kiddos. Skip hanging anything on the wall directly above a crib or changing table altogether. If you're hanging framed pieces, use acrylic instead of glass and hardware rated for at least twice the frame's weight, since little hands treat everything within reach as a handle. Wave, Bubble, and Mountain Picture Ledges (each available in a Mini size) bring a scalloped or wave-edged profile that reads as intentionally fun rather than mismatched — pair the look with the Tony Tony Tony Bundle for toy and collectible display. See more on our kids' room shelving ideas page.

Home Office
Where you hang it depends on who it's for. Opposite the desk means you're the one who sees it all day; the wall behind your chair is what shows up on every video call instead. Both are legitimate, but they call for different scales — go bigger and more personal on the wall you actually look at, and keep the on-camera wall simpler, since a busy background pulls attention away from you on a call. A short run of Shortie Walnut Wall Shelf segments or a single Floaty Mini shelf has enough presence to read on camera without pulling focus. See more on our home office shelving ideas page.

Entryways and Narrow Hallways
Whatever's visible from the doorway or the far end of the hall is what gets seen on every single pass through, so that's where the anchor piece belongs — not buried in the middle of the arrangement. Tighten the spacing to 2 to 3 inches, since the whole thing gets viewed from a couple of feet away while walking past. And depth matters more in an entryway than any other room: a 3-inch depth Fat Lippie or an Edo-mounted print keeps the wall from projecting into a space people are actually walking through. See more on our entryway shelving ideas page.

Gallery Wall Accessories That Make It Easier
A level, a pencil, and some removable putty for keeping leaned frames in place will get most people through the floor-planning stage. On the hardware side, all of our shelves, picture ledges, and other gallery wall products ship with matching mounting fasteners and a choice of drywall or masonry anchors. Let us know what kind of wall (drywall, masonry, etc.) you are attaching to and we will ship the correct fasteners with your order.
Gallery Wall FAQ
How many pictures should be on a gallery wall?
There's no fixed number — it depends on wall size and piece sizes — but a super-generic and not at all scientific suggestion would be somewhere between 5 and 15 pieces, anchored by one larger or more sentimental piece.
How much space should be between gallery wall frames?
2 to 4 inches, kept consistent throughout the arrangement.
Can a gallery wall have different frames?
Yes. Mixed frames actually look more intentional than identical ones, as long as you limit yourself to two or three frame finishes total.
Can I hang a gallery wall without nails?
Technically, yes — if the piece is light enough (read: practically weightless) and the room stays bone-dry and temperature-stable, double-sided mounting tape or adhesive strips could potentially hold a small print to the wall. But we wouldn't build a gallery wall using this method: they're capped at a few pounds each even in ideal conditions, most won't hold on textured walls or wallpaper at all, and temperature or humidity swings are the most common reason they eventually fail.
Rather than a nail-free installation we can't fully vouch for, we'd suggest installing a picture ledge or similar product that can support multiple pieces, or the Edo Print Hanging System. A picture ledge only requires a couple of small, properly rated anchors, then holds as many pieces as you want to lean against it — no new holes in the wall for each addition. Edo still uses one bracket per print, but it clamps the print itself in place instead of nailing through a frame, so nothing about the art gets punctured. Proper installation of either results in minimal wall damage, and any spot patches in minutes if you remove it later.
Are picture ledges still in style in 2026?
Yes — picture ledges are increasingly replacing fully-fixed gallery walls, because they let you keep editing the display without new wall damage.
What's the difference between a gallery wall and a picture ledge?
They're not quite the same kind of thing — a gallery wall is the finished display, and a picture ledge is one piece of hardware used to build it. What people usually mean by this question is fixed frames versus ledge-mounted ones: fixed frames use a nail or hook per piece and stay put, while a picture ledge is a shelf that art leans against, so nothing's permanently fixed and pieces can be swapped anytime.
Can a gallery wall include things besides photos and art?
Yes — records, front-facing books, and small objects all work well mixed into a gallery wall and often make it look more collected than a wall of frames alone.
Where should the center of a gallery wall be?
Around 57 to 60 inches from the floor, which lands at average eye level.
A Little Planning Goes a Long Way
Every gallery wall comes down to two decisions: how you mount each piece, and how consistently you space them once they're up. Plan the layout before you touch the wall, and choose hardware built to carry what you're hanging — a picture ledge or Edo run included. Get both right, and the difference shows: a wall that reads as intentional, not accidental.
Share:
The Essential Guide to Floating Bookshelf Lighting
9 Tips for Planning Your Floating Shelf Project