
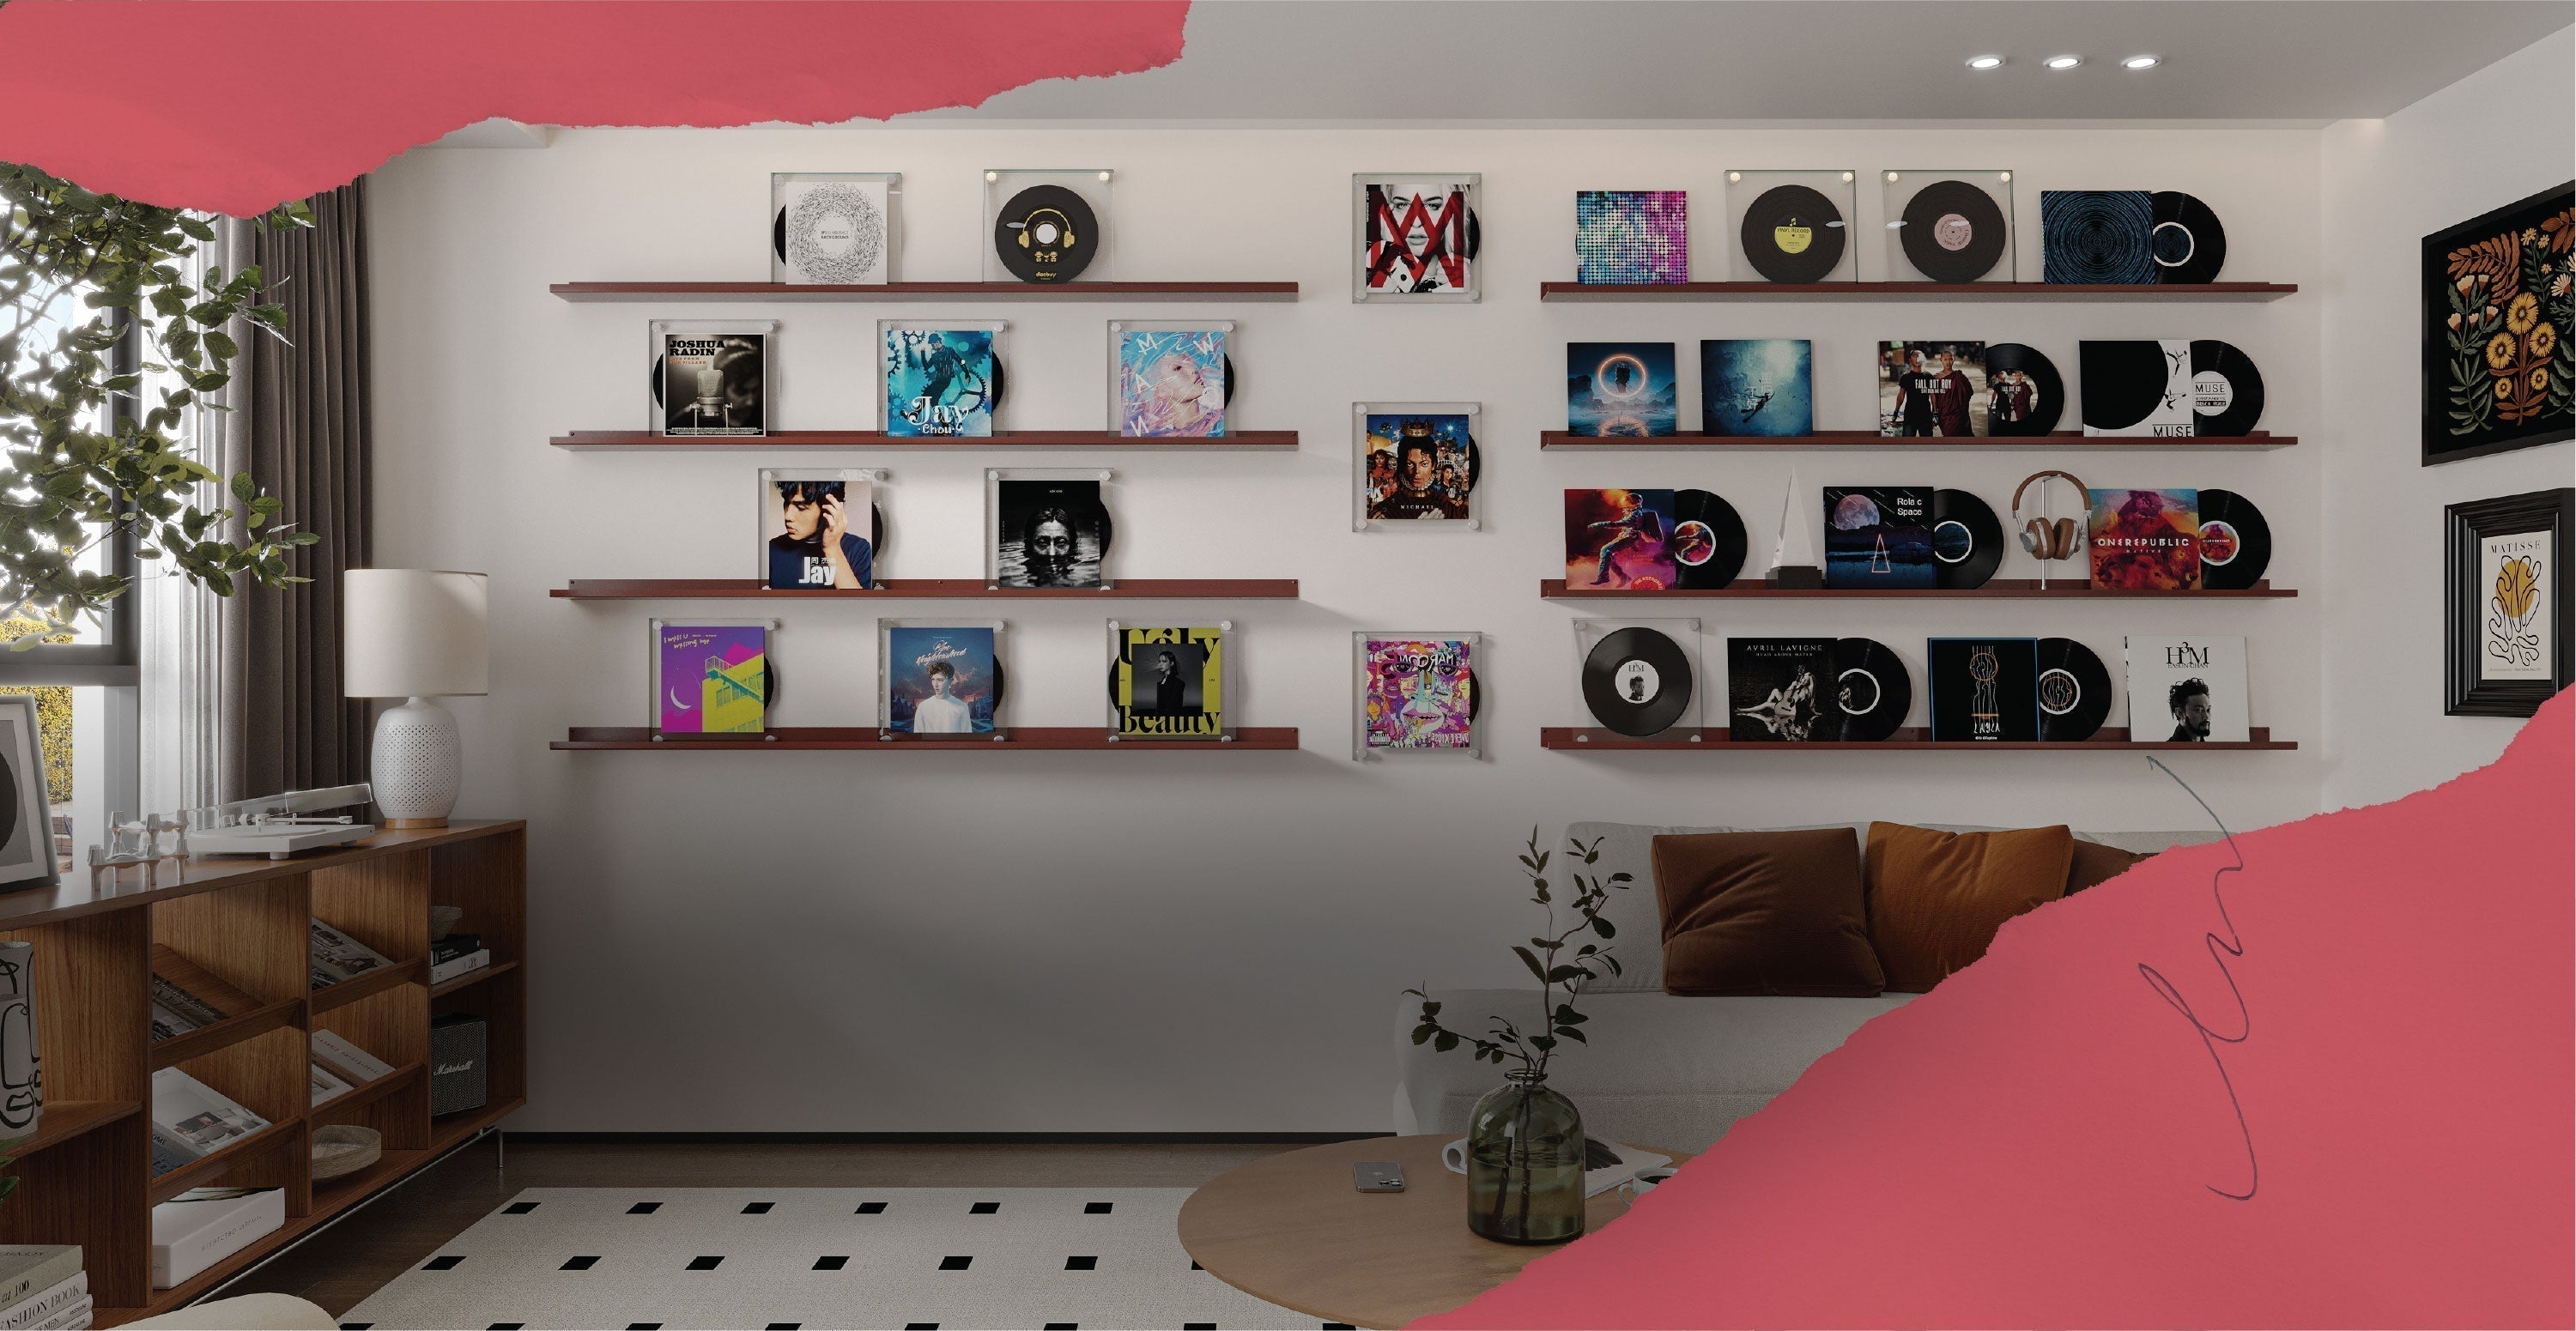
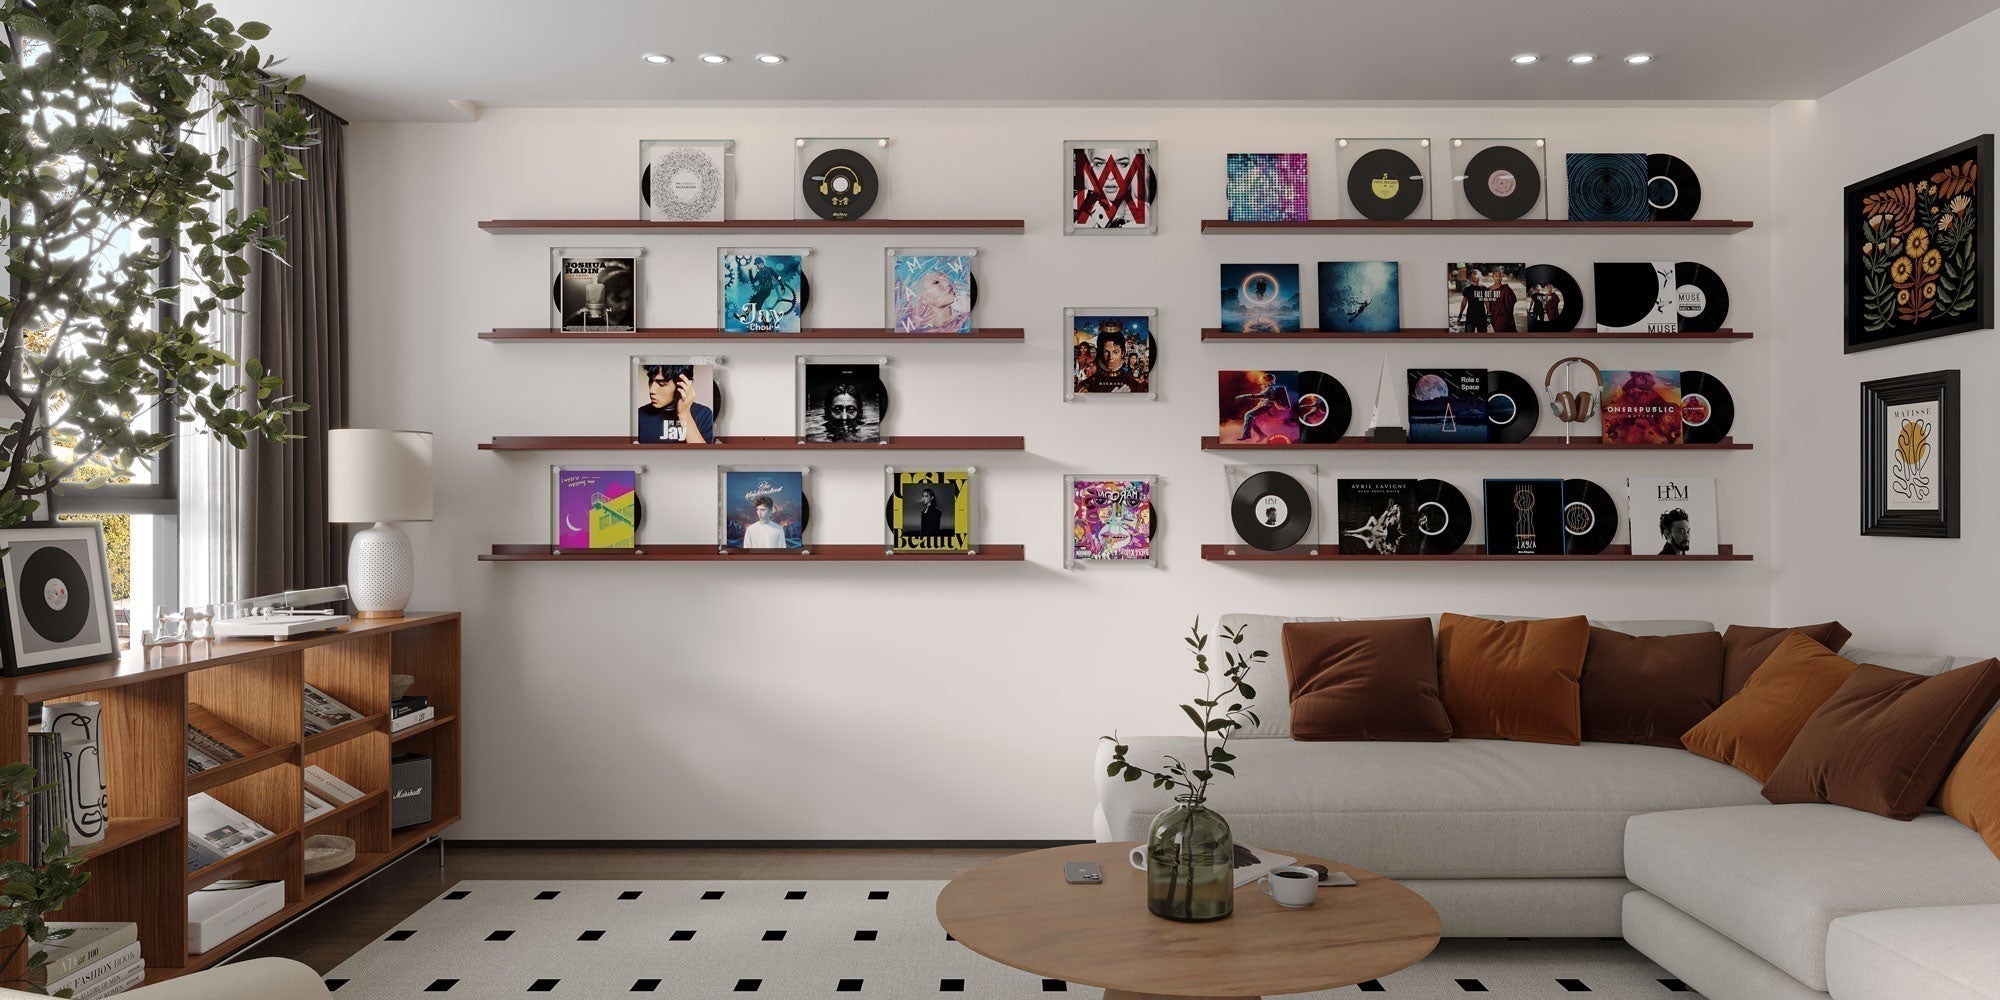
A floating shelf mounts on a concealed internal bracket, so no supports show. Plan your wall, weight, wood, and layout before you drill.
Last updated: July 16, 2026
The floating shelves that stay beautiful for years aren't impulse buys. They're a handful of small decisions, made in the right order, before the drill comes out.
Most floating-shelf regret traces back to a question that got skipped: what is the wall actually made of, how much weight will the shelf hold, and how big should it be. Guess wrong on any of them and the shelf sags, bows, or works loose from the drywall a few months later. Plan them well and you get open shelving that carries real weight and still looks like you meant it.
This guide walks the whole decision, from what sits behind your drywall to how you style the finished wall, written by the people who engineer the brackets. By the end you'll know what your wall can hold, how to size a shelf, which wood to choose, and how to style it once it's up.
New to the category? Start with our Ultimate Guide to Floating Shelves, or browse the Floating Shelves collection to see what's possible.

Floating shelf planning in 30 seconds
- Wall: Find your studs. Drywall alone won't hold real weight, while a single stud anchor carries roughly 45–50 lb.
- Weight: Shelfology shelves span 25 to 350 lb depending on the bracket, the rod count, and how many studs you hit. Generic prong brackets give out above about 30 lb.
- Size: Depth runs 6 to 12 in (6 to 8 in is typical; go 10 to 12 in in kitchens and living rooms). Run the shelf across at least two studs.
- Wood: Denser hardwood holds more and looks richer.
- Style: Mount at eye level, around 4 to 5 ft, leave some negative space, and start with your largest objects.
1. Know What's Inside Your Walls
Your first floating-shelf decision isn't the shelf. It's the wall, because what's behind the drywall decides the hardware.
Drywall on its own will not hold a loaded floating shelf; it's really just a skin over the wall. The strength lives in what sits behind it: wood or steel studs, brick, concrete, or older lath-and-plaster. Before you shop for anything, find your studs. Most are spaced 16 in on center, some 24 in, and older homes wander, so run a stud finder and confirm rather than assume.
You can install without studs if you use heavy-duty toggles or anchors rated for the load, but stud-mounted is in a different league of strength. A single stud anchor holds roughly 45 to 50 lb, while even good drywall anchors carry a fraction of that. If the shelf will hold books, dishware, or anything you'd hate to see hit the floor, plan the layout around your studs rather than the other way around.
Brick, concrete, and plaster each ask for their own fasteners: masonry anchors for brick and concrete, and extra care behind plaster, often with a stud or blocking to catch. Match the anchor to the wall before you match the shelf to the room. When you're ready to spec hardware, the floating shelf bracket collection is organized by capacity, and Home Depot's install guide is a solid primer on wall types.

2. Decide How Much Weight You Need to Float
This is the tip most guides skip, and it's the one that keeps shelves on the wall. Figure out the load first, then choose hardware to match it.
Shelfology floating shelves span 25 to 350 pounds, depending on the bracket, how many support rods it uses, and how many studs you anchor into. The math is friendlier than it sounds. Each stud anchor carries roughly 45 to 50 lb, so a 3-foot shelf that hits two studs supports around 100 lb with the right internal bracket. Want more capacity? Add length across more studs, more rods, and a heavier bracket.

Two failure points are worth planning around. Generic prong brackets, the thin metal spikes packed with cheap shelves, start giving out above about 30 lb because they rely on drywall grip, and drywall gives. MDF shelves are the other one: the bracket can be perfect and the shelf will still bow in the middle, because the material can't hold its own line under sustained weight.
There's also a physics trade-off worth knowing before you size anything. A deeper shelf holds less weight, because depth acts as a lever arm, and weight sitting farther from the wall multiplies the force at the mounting point. That's why the next tip treats depth and load together instead of separately.
Estimate your real-world load by what's going on the shelf:
| What you're storing | Rough weight per foot | Plan for |
|---|---|---|
| Books and media | ~18 lb/ft | The heaviest everyday load; anchor into studs |
| Dishware and glassware | ~12 lb/ft | Moderate but concentrated; a rated internal bracket over two studs |
| Decor, plants, frames | ~5 lb/ft | Usually light; weigh the heavy outliers like a large planter |
Estimates for planning. A quality internal bracket anchored into studs is assumed.
For the deeper dive, see How Much Weight Can a Floating Shelf Hold? and How Much Weight Can Floating Bookshelves Hold?
Try It: The Shelf Chooser
Match your wall, size, wood, and what you'll store, and the Shelf Chooser estimates what the setup can hold and which hardware to use.
Shelf Chooser
Answer a few questions and we'll estimate what your wall can hold and which setup to use.
Anchor points
—
Est. capacity
—
Planned load
—
Shelf weight
—
Planning estimates only, based on quality internal brackets anchored into solid structure. Not an engineering guarantee. For heavy or custom loads, talk to a Shelf Geek.
3. Get Thickness, Depth, and Length Right
Size isn't only a look. Thickness, depth, and length each change how much a shelf can carry, so decide them together.
- Thickness sets the hardware. A thicker shelf needs a taller internal bracket, and a taller bracket needs more depth to seat properly, so thickness and depth move together.
- Depth runs a standard 6 to 12 inches. Six to eight inches suits bathrooms, offices, and display walls, while 10 to 12 inches suits kitchens and living rooms where dishware and larger objects need the landing space. As tip 2 noted, deeper trades away capacity.
- Length should cross at least two studs. A longer shelf isn't only more surface, it's more room for support rods and more stud anchor points, which means more strength rather than less. Length is one of the few dimensions where bigger is structurally better.
| Room / use | Recommended depth | Why |
|---|---|---|
| Bathroom | 6–8 in | Towels, bottles, and small decor don't need reach |
| Office | 6–8 in | Books and supplies sit fine on a shallow shelf |
| Display / gallery wall | 6–8 in | Frames lean, so shallow keeps the line clean |
| Kitchen | 10–12 in | Plates and larger items need landing space |
| Living room | 10–12 in | Books and bigger decor sit better on a deeper shelf |
Deeper shelves hold less weight, since depth acts as a lever arm.
If depth is the dimension you're least sure about, the Floating Shelf Depth Guide walks through how depth changes stability.
4. Choose the Right Wood
Wood is where weight and looks meet, because density decides both how much the shelf weighs and how much it can hold.
Denser species are heavier and stronger. A solid white oak shelf measuring 1.75 in × 14 in × 84 in tops 60 pounds on its own, before a single book goes on it, and that heft is exactly why it holds a load without flexing.

| Species | Weight & strength | Look | Best for |
|---|---|---|---|
| White oak | Dense, very strong | Bright, prominent grain | Kitchens, bookshelves, high-load runs |
| Walnut | Dense, very strong | Dark, rich, smooth | Statement shelves, living rooms |
| Maple | Dense, strong | Pale, subtle, smooth | Clean, modern looks |
All three are solid hardwoods that carry weight without flexing. We don't recommend MDF for floating shelves, since it bows under sustained load.
Choose for the job first and the color second: match the species to the weight you sketched out in tip 2, then let the tone follow. For help narrowing it down, see Best Woods for Floating Shelves and Best Material for Floating Shelves.
Not Sure What You Need? Start With a Common Setup
The quickest way to plan a shelf is to match your situation to one that's already been worked out. Here are the setups we spec most often, along with what we'd recommend for each. Find the one closest to yours, then adjust up or down from there.
A kitchen shelf for dishware and glassware. You're mounting over drywall with wood studs behind it, and the shelf carries everyday plates, glasses, and a few spice jars. Run it about 3 feet long so it crosses two studs, 10 inches deep for landing space, in solid hardwood.
- Anchor into both studs for roughly 90 to 100 lb of capacity, comfortably above a working kitchen shelf's real load.
- Use a rated internal bracket rather than the prongs packed with budget shelves, since concentrated dish weight is exactly what pulls prongs out of drywall.
A living-room bookshelf run. Books are the heaviest everyday load in the house, and this is where most shelves sag. Keep it to hardwood, run it long, and hit every stud you can.
- A 3-foot run on two studs handles a normal book load. If you're filling it wall to wall, add length so you pick up a third stud instead of piling weight onto two.
- Skip MDF here entirely, because it bows in the middle under sustained book weight even when the bracket is solid.
A bathroom shelf for towels and decor. The load is light, just rolled towels, a bottle or two, and a plant that tolerates humidity, so this one is about placement more than capacity. A 6-to-8-inch depth is plenty.
- Mount it where splash won't reach it constantly, over the toilet or beside the vanity rather than directly above the sink.
- Even at a light load, anchor into a stud if one is available. It costs nothing and removes the only real failure point.
A long decor or display shelf. You want a clean horizontal line for art, ceramics, and framed pieces, all lighter objects spread across a wide span. Length works in your favor here.
- Run it across at least two studs, ideally three on anything over 4 feet, and let the extra anchor points carry the span.
- Keep depth modest, around 6 to 8 inches. Deeper shelves hold less, and decor doesn't need the reach.
A rental, or a wall with no studs where you want the shelf. When you can't hit a stud, or would rather not commit to holes, it's better to change the approach than to force it. A picture ledge is usually the right answer.
- For a true floating shelf with no studs, use heavy-duty toggle bolts rated for the load and keep what goes on it light. Drywall alone won't carry real weight, and no anchor fully makes up for a missed stud.
- Better still, lean art and frames on a picture ledge, which holds the display without asking the wall to carry a loaded shelf, and lets you rearrange anytime.
Still between two setups? Our Shelf Geeks will size the bracket, wood, and dimensions to your exact wall. Start here.
5. Plan Height and Spacing Before You Drill
Solid and engineered floating shelves aren't disposable, so plan placement, height, and spacing before you commit a hole to the wall. These are the numbers designers reach for:
| Placement | Measurement |
|---|---|
| Mounting height (eye level) | 4–5 ft from the floor |
| Above a counter | 16–24 in of clearance |
| Above furniture | ~10 in above a sofa back or console |
| Between stacked shelves | 10–15 in apart |
Measure, mark, and step back before you drill. A shelf mounted two inches off looks like a mistake for as long as it hangs, while one placed with intention disappears into the room.
6. Gather the Right Tools and Install with Care
Most DIY floating-shelf failures aren't bad shelves, they're rushed installs, so gather the right tools and slow down at the wall.
You'll want a stud finder, a level, a drill, and the correct anchors for your wall from tip 1. For anything over a couple of feet, bring a helper, because holding a long shelf level while you drive fasteners solo is how walls end up with extra holes.

Two mistakes account for most of the trouble. The first is skipping the studs and trusting drywall anchors with a real load. The second is overloading anchors rated for far less than what ends up on the shelf. Follow the bracket instructions closely, since an internal-bracket system is only as strong as the way it seats.
Watch the install done once first.
Are floating shelves hard to install? Not for a capable DIYer; it's a one-afternoon job. The skill isn't muscle, it's patience: find the studs, level carefully, and don't shortcut the anchors.
7. Styling, Room by Room
A well-planned shelf still needs a plan for what goes on it, and the right approach shifts from room to room.
Kitchen. Keep everyday dishware, glassware, and spices within reach of where you cook. In a small kitchen, open shelves read lighter than upper cabinets and make the whole room feel bigger.

Living room. Books, art, and framed pieces belong here. Stagger the heights, mix a few larger objects with smaller ones, and let some shelves breathe instead of filling every inch.

Bathroom. Rolled towels, a plant that likes humidity, and everyday bottles all work well. Place shelves where splash won't reach them constantly, over the toilet or beside the vanity rather than straight above the sink.

Office and bedroom. Clear the desk by moving reference books and supplies up to the wall, and above a bed, a single well-placed shelf does more than a crowded gallery.

A few styling rules designers lean on are worth borrowing:
- Arrange objects in a loose, asymmetric pattern across several shelves rather than lining everything up.
- Start with your largest objects and fill in around them.
- Leave some negative space, since the empty room is what makes the filled parts look styled instead of stuffed.
- Mix scale and texture, so a tall matte vase sits next to short glossy books, and wood meets ceramic.
Shopping by room helps here: Living Room, Kitchen, and Bathroom.
Building a Gallery Wall? Plan for Picture Ledges Too
A picture ledge is the low-commitment cousin of a fixed floating shelf: a shelf with a raised front lip, so you lean and layer framed art, photos, and records instead of hanging each one. Nothing gets nailed in place, so you can rearrange the whole wall on a Sunday afternoon. For renters, and for anyone who likes to change things up, it's the easiest way to turn a blank wall into a display.
The one to build around is the Fat Lippie Picture Ledge: 10-gauge steel, offered in 3 in, 5 in, and 7 in depths and 12 in to 84 in lengths, with more than 30 powder-coat colors. The wide lip is the point, since it's built to hold more than pictures, and cookbooks, small plants, and record sleeves lean just as happily as frames. If you'd rather have a shaped profile than a straight line, the family runs to Bubble for nurseries and playrooms, Wave for offices and studios, and Mountain for kids' rooms.

Planning a gallery wall uses the same rules as the rest of this guide:
- Anchor long runs into studs, because a loaded ledge is still a loaded shelf.
- Mix ledge lengths for rhythm instead of matching them all.
- Center the arrangement at eye level, around 4 to 5 ft, and space rows 10 to 15 inches apart.
- Overlap frames for a warm, lived-in look, or align them on a grid for something more minimal.
Browse the full Picture Ledges collection to plan your run.
For layout patterns, spacing math, and room-by-room placement, see our full Gallery Wall Ideas guide.
8. Add the Finishing Touches
Once the shelf is up and styled, a few small additions take it from functional to finished.
Integrated LED lighting washes the wall and makes whatever's on the shelf the focal point after dark, which works especially well over a bar, a reading nook, or a display run. Hooks and rails underneath add hanging storage in a kitchen or entryway without a second shelf. Mixing materials, like a wood shelf beside a steel picture ledge, gives a wall depth. And layering a picture ledge in front of a deeper shelf lets you rotate art without touching the anchors. For the lighting details, see the Floating Bookshelf Lighting guide.
9. Care for Them So They Last
You planned these as forever shelves, so a little upkeep keeps them that way.
Dust and wipe wood along the grain, using a finish-appropriate cleaner rather than anything harsh that can strip or cloud the surface. Wipe powder-coated steel with a damp cloth. Once or twice a year, press gently on each shelf and check that the anchors and brackets are still tight, since walls settle and loads change, and a 30-second check beats a surprise. Treated this way, a solid shelf outlasts the room it's in.
Floating Shelf FAQ
How much weight can a floating shelf hold?
Between 25 and 350 pounds, depending on the bracket, the shelf's dimensions, and how many studs it's anchored to, or roughly 45 to 50 pounds per stud with quality internal hardware. Generic prong brackets, by contrast, start failing above about 30 pounds.
How deep should a floating shelf be?
Most floating shelves run 6 to 12 inches deep. Six to eight inches suits bathrooms, offices, and display walls, while 10 to 12 inches suits kitchens and living rooms where dishware and larger objects need more landing space. Keep in mind that deeper shelves hold less weight.
How high, and how far apart, should floating shelves be?
Mount floating shelves about 4 to 5 feet from the floor, roughly eye level, and leave 16 to 24 inches of clearance above a counter. When stacking several, space them 10 to 15 inches apart so taller objects fit and the grouping reads as one intentional set.
Can I install floating shelves without studs?
Yes, using heavy-duty toggle bolts or anchors rated for the load, though stud-mounted shelves are far stronger, since each stud anchor holds roughly 45 to 50 pounds. Drywall alone won't support meaningful weight, so anchor into studs whenever the shelf will carry books, dishware, or anything heavy.
Why do floating shelves sag or fall, and how do I prevent it?
Almost always it's the bracket or the wall fixing, not the shelf itself. Prevent it by using a rated internal bracket instead of generic prongs, anchoring into studs rather than bare drywall, and avoiding MDF for heavy loads, since MDF bows under sustained weight.
What's the best wood for floating shelves?
Dense hardwoods like white oak and walnut are the strongest, holding real weight without flexing. Maple is another strong, cleaner-grained option, while MDF bows under load, which makes it fine for light decor and wrong for anything heavy.
Are floating shelves still in style?
Yes. Floating shelves remain a timeless, flexible way to add display and storage without taking up floor space, which is why they work across kitchens, living rooms, baths, and offices. The look reads clean and modern precisely because the hardware disappears.
What's the difference between a floating shelf and a picture ledge?
A floating shelf mounts flush on a concealed internal bracket for storage and display. A picture ledge has a raised front lip, so you lean and layer framed art, photos, and records rather than hanging them, which makes it ideal for gallery walls and for anyone who likes to rearrange without new holes.
How do I plan a gallery wall with picture ledges?
Anchor the ledges into studs, center the arrangement at eye level around 4 to 5 feet, and space rows 10 to 15 inches apart. Mix ledge lengths for rhythm, then overlap frames for a casual, lived-in look or align them on a grid for a clean, minimalist wall.
Ready to Build Yours?
Now for the fun part: your Way to Display.
You know what your wall can hold, how to size it, which wood fits, and how to style the result. When you're ready to build it, our Shelf Geeks can spec the load, hardware, and dimensions for your exact wall, or take it fully custom. Start with the Floating Shelves collection, or plan a gallery wall with Picture Ledges.

Share:
Gallery Wall Ideas: The Complete Guide to Layouts, Spacing, and the Low-Damage Way to Do It