
Bender Steel Shelf Install Guide & Review by Matriarchy Build
with Gabriella Ainslie of Matriarchy Build
Like lots of new homeowners, we moved into our house with plans to execute design upgrades once we were settled in. Get the major stuff wrapped up before the move, and leave the less invasive, cosmetic nips and tucks for later on.
We especially had eyes on our bathroom, which was ripe for a tune-up. Somehow, four years and one toddler later, our bathroom updates have never been wrapped up! We needed some new storage options, and I was dying to try some Shelfology products.
I picked the Bender FM3 shelves in Steely Blue. The Benders would add the meaningful shelf space we needed while also bringing in some fun color into our otherwise pretty plain bathroom. I also picked a few hooks: the Doohooky and the Why Not in Purple Dusk to add a little more color and give us a spot for our towels and robes.
The installation process was super straightforward. The hardware is durable, easy to work with, and it’s not intimidating. Here are the steps I followed, with the help of our MB associate, Maria Salmeron:
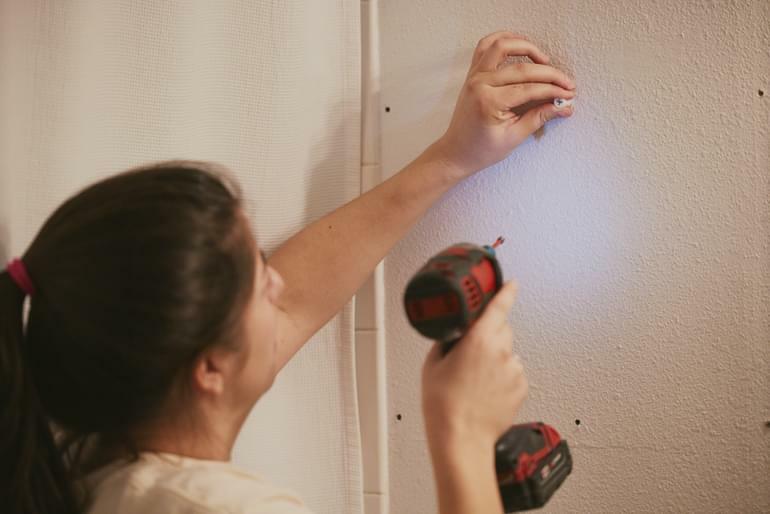
1. I found my studs and marked them.
I used a stud finder that’s worked great in our home—it lights up and beeps when it passes over a stud, so I know exactly where we want to get screws into the wall for the most support. There are a lot of different kinds of stud finders out there, but this article does a great job of helping you pick which will be right for you. Our Matriarchy Build pros voted on their favorite, and this one won out! Pro Tip: A screw in a stud can hold about 100 pounds, so it’s strong and secure.
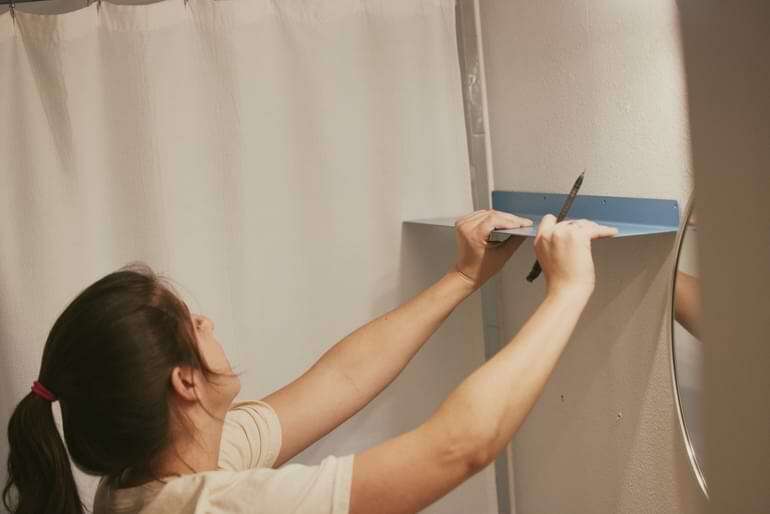
2. I held up the shelf with a level on top and marked the places I wanted to drill my pilot holes aligned with my studs to make sure I had at least a few of my screws were going into the studs for maximum support.
If you’re looking for a level, there are a lot of different kinds, and each has pros and cons depending on the project you’re working on. Here’s some helpful info to learn more about the different sorts of levels out there. For this shelf installation, I used this level. Pro tip: If you’ve got an extra set of hands holding the shelf in place, using the level is much easier. You can definitely do it on your own if the shelf isn’t too heavy or too long, but it’s great to have a helping hand for this step!
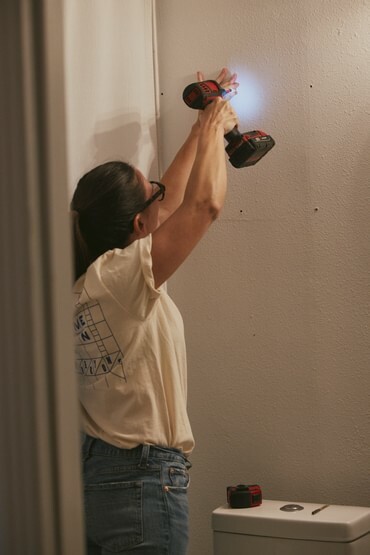
3. I drilled in my pilot holes where I’d marked them.
Where I’d need to put screws into the drywall, I used anchors. Here's some handy info on the difference between screws & anchors and when to use each. Pro Tip: I love having both a drill & an impact driver on hand for moments when I need a little more umph than my drill provides. Here’s my current favorite setup that includes both!

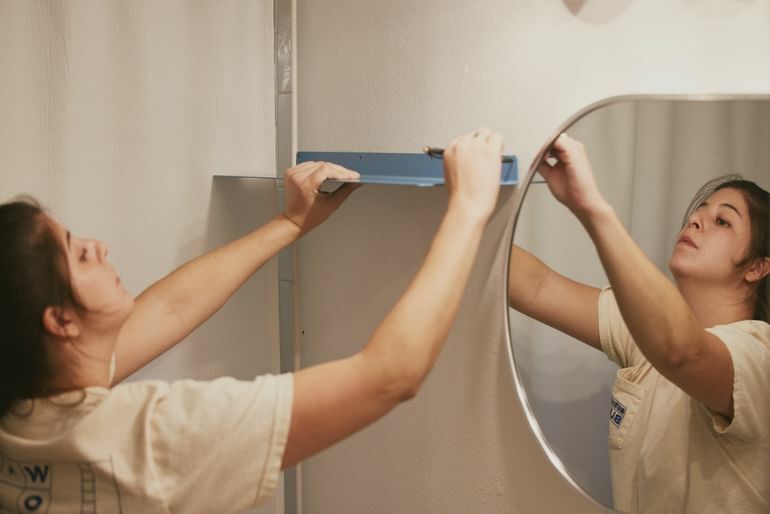
4. I held up my shelf again with my level on top to double-check that my anchors and screws were set nice and level.
Pro Tip: You can never double-check that things are level too many times before screwing a shelf into the wall! It’ll save you a headache down the road.
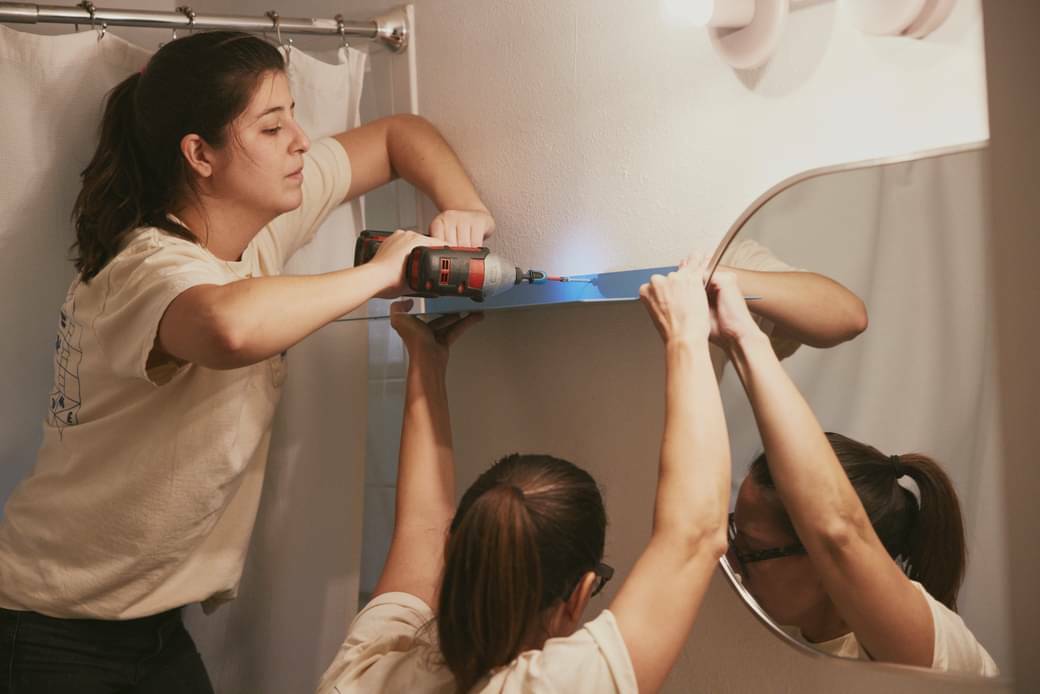
5. Then I used my drill again to screw in the shelves with the cute (painted to match!!) screws that were provided.
They went right into the studs and the anchors smoothly, and I was done! Pro Tip: Easy does it with your drill on this step. Press it smoothly and consistently for the best result.
Before I knew it, I had the shelves in, my hooks up and the bathroom felt like a new, pulled-together room!
Gabriella Ainslie
Gabriella is the Co-Founder and Co-CEO of Matriarchy Build, an online platform with a female perspective on DIY and home improvement. Prior to Matriarchy Build, her career has been in home and fashion retail, most notably ABC Home, Terrain, and Bunkhouse Group hotels. She studied literature at the George Washington University in Washington, D.C. She lives with husband and daughter in Austin, TX and whenever possible they decamp to the high desert of West Texas for hiking or the verdant, beachy abundance of Puerto Rico for time near the ocean.
Lacey Soslow
Lacey is Co-Founder and Co-CEO of Matriarchy Build, the female-first home improvement and DIY platform. Prior to launching Matriarchy Build, Lacey spent 12.5 years heading up marketing and digital for Terrain, the home and garden brand from the URBN/Anthropologie folks. In addition to her time at Terrain, Lacey also spent the past six years renovating old homes in South Philly with her mom. The two partnered on six renovation projects, planting the seed for her love of the home improvement space. Homegrown in Philadelphia, Lacey splits her time between Philly and NYC with her wife Michelle.

Matriarchy Build
Matriarchy Build is a home services platform with a female-first point of view. Matriarchy Build connects consumers to tradespeople for 1:1 online consultations to talk through DIY projects and repairs, along with providing guidance on larger renovation and remodel projects. In Austin, TX, Matriarchy Build offers in-person handyperson services.
Related Radness


Share This Article

