Okay! You have your gorgeous, drool-worthy, radical floating shelf in hand and ready to rock. Now what?!
If you’re feeling a bit overwhelmed with the whole process, take a few deep breaths and let it all go. Once you’ve installed your first floating masterpiece, a whole world of interior decorating will be revealed to you. Heck, there might even be angelic singing in the background as you slide that puppy onto its bracket.

Don’t be intimidated—be stoked! Tell yourself you’ve got this, grab your tools, read through this post, and get your game face on! First, we’re going to cover what you’ll need and some tricks of the trade that we’ve learned in our years of shelf-ing (it’s a thing, okay?).

Before You Get Started…
Let’s make sure you have all the tools you’re going to need before you start slapping up some screws. Take a look through the following list of equipment to make sure you’re ready to go!
- Your shelf (duh!)
- A floating shelf bracket (ideally one of our ultra-hardcore Shelfology brackets!)
- A stud finder (the wall kind!)
- Wall anchors (if your shelf won’t be fastened to studs)
- Screws
- A handheld drill
- A level
- A tape measure

Keep all of these tools nearby, because you’re going to need them in succession. You may also want a pencil to mark the wall and a vacuum or broom to clean up any drywall or other mess that the installation creates. Next, we’ll take a look at some tips that you should brush up on before beginning your installation.
Instructions Are Friends, Not Trash!
We get it, you may not love reading instructions and following them. And that’s fine. Some people will get by just fine—especially those who have installed floating shelves before. However, if this is your first time, we highly recommend that you follow your product’s instructions. This way, you’ll be sure that the shelf is as strong as it can be!

Use the Right Hardware
If we’re being honest, we might be a little bit biased; however, there must be a reason contractors come to us for our floating shelf brackets. If you want anything to last, you don’t buy the cheapest materials, right? The right hardware will not sag or buckle, regardless of what you put on it. That’s the gold standard right there. It may cost you a bit more, but it’ll save you time, money, and frustration in the long run.
Another consideration here is the length of screw you use for your installation. Drywall is still over your stud, so you need to make sure that the screws you use are long enough to catch enough of the stud’s wood so that your installation is secure. Short screws that just barely catch the stud will be almost as ineffective as a screw put directly into drywall without an anchor.
Get Familiar With Your Shelf
The steps below are going to walk you through installing a typical, run-of-the-mill floating shelf—the kind with a real or fake wood rectangle with no hardware visible on the outside. If you’re looking for a “standard” floating shelf from us, you’ll probably love the Aksel Wood Floating Shelves. Here at Shelfology, we have more than just this type of shelf, so if you have one that doesn’t fit this bill, take a second to read your specific instructions (again with the instructions, we know—sorry).
You CAN Alter the Bracket to Hit Every Stud
Our Aksel floating shelf system is designed to hit most if not all of the studs along the portion of the wall where it is installed. But if you are installing a different bracket and the included screw holes aren’t located directly over the studs, no worries! You can totally just create new holes in your bracket so that you’re taking advantage of more than one stud. In fact, this is actually recommended and will make your shelf even sturdier. You can’t use too many studs, trust us!
Know What’s in the Walls
We’re not trying to reference horror movies here, but your life could certainly turn into one if you don’t take this tip into consideration. There’s a potential smattering of wires and pipes that could turn a great weekend into a memory you’ll never live down! So, our suggestion is to always aim for studs, hence, the stud finder is your best friend.
Choose Your Target Carefully
Now, you probably have a spot in mind for your shelving; however, you may not have yet visualized it in the space with its proper dimensions. This is where your tape measure, level, and pencil will come in handy. Using the correct length and width of your shelving, go ahead and trace an outline of where you want your shelf to be when it is finished. This will help you see the shelf in the space. If you aren’t happy with the placement of one or more shelves, simply erase the outline and reconfigure it.
Step 1: Do a Preliminary Install

For this step, we’re just going to install the hardware onto the wall into the studs. If you’re using a wall bracket from Shelfology, you’ll notice that there are a million other holes that you can use, too. We’ll get there in step 2. For now, simply attach your wall bracket to the wall in holes that have studs, using #10 x 2” wood screws. Remember—it’s okay to add additional holes to your bracket if you need to; the goal is a sturdy final product!
Step 2: Pre-Drill Your Anchor Holes

With your bracket still up on the wall, pre-drill your drywall or sheetrock anchor holes with an appropriate bit. You want to make sure that you follow the instructions as to what size drill bit you should use. If you drill your pilot hole with a bit that’s too large, your anchors and screws won’t be able to hold your shelf up securely. If you’ll be using the recommended #8 anchors for drywall, for example, you’ll want to use a ⅛” drill bit.
Step 3: Remove the Bracket and Add Anchors

The next step is to install the drywall or sheetrock anchors appropriately. To do this, you’ll need to remove the shelf from the wall. In each of your pre-drilled pilot anchor holes, install a drywall or sheetrock anchor that will work for your situation. Every wall is different, so it’s difficult for us to tell you exactly what you’ll need. For standard drywall, #8 x 1-½” anchors are usually sufficient and work well with the #10 x 2” wood screws we talked about before.
Step 4: Install Your Bracket for Good!

Now, the real fun begins! This time, you’re going to attach the bracket to the wall with your screws in studs and anchors. Make sure you use the right screws for each hole. It will be easier if you planned to use all the same screws for both the studs and anchors. That baby ain’t going anywhere!
Step 5: Slide on the Pretty

The time has come! Grab your solid wood shelf, slide it onto the shelf, and experience the true magic that follows. Don’t forget to anchor the shelf to the bracket with those vertical screws or adhesive! If you are mounting one of our metal shelves or a shelf with different hardware, simply follow those instructions, making use of the stud and anchor tricks we’ve mentioned herein!
Step 6: Clean Up the Floor

You probably made a bit of a mess installing your floating shelf, so it’s time to vacuum or sweep up the drywall dust and bits of wood that might have come out of the studs. You can save this step for last if you’re installing multiple shelves, but don’t forget about it!
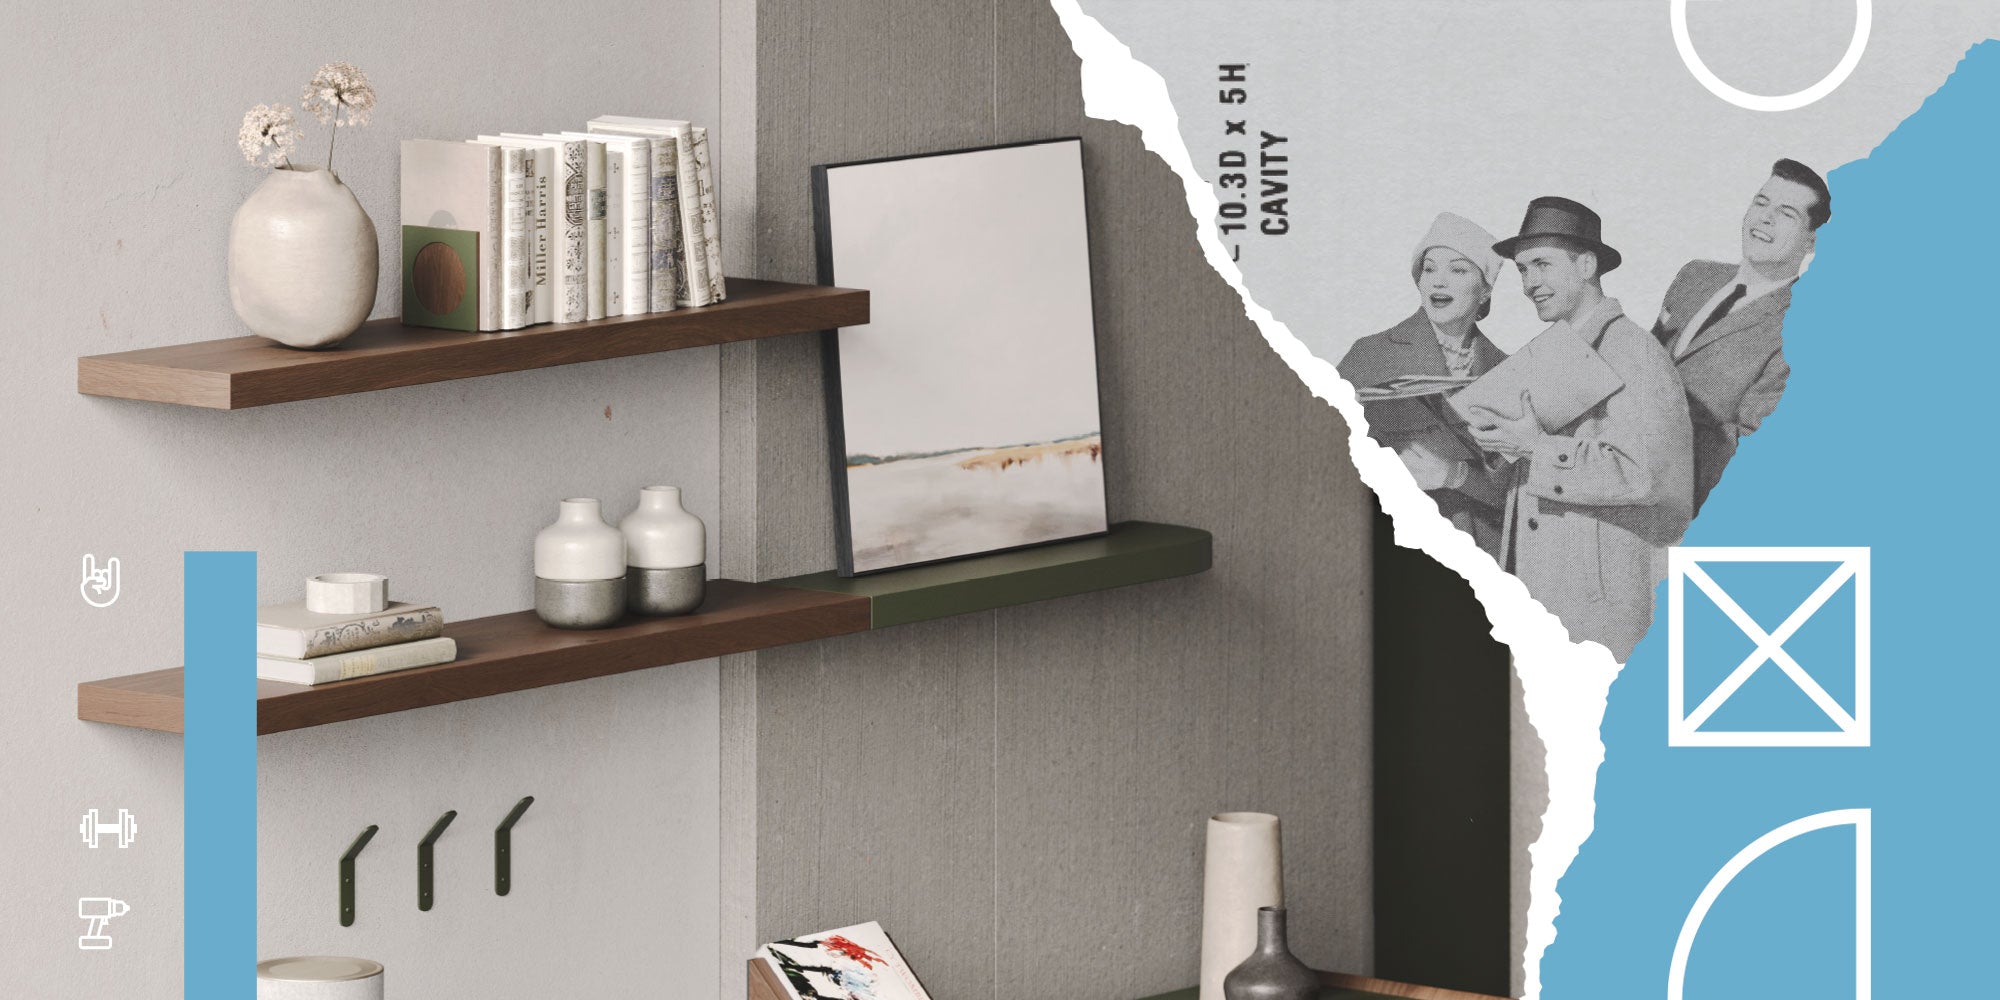
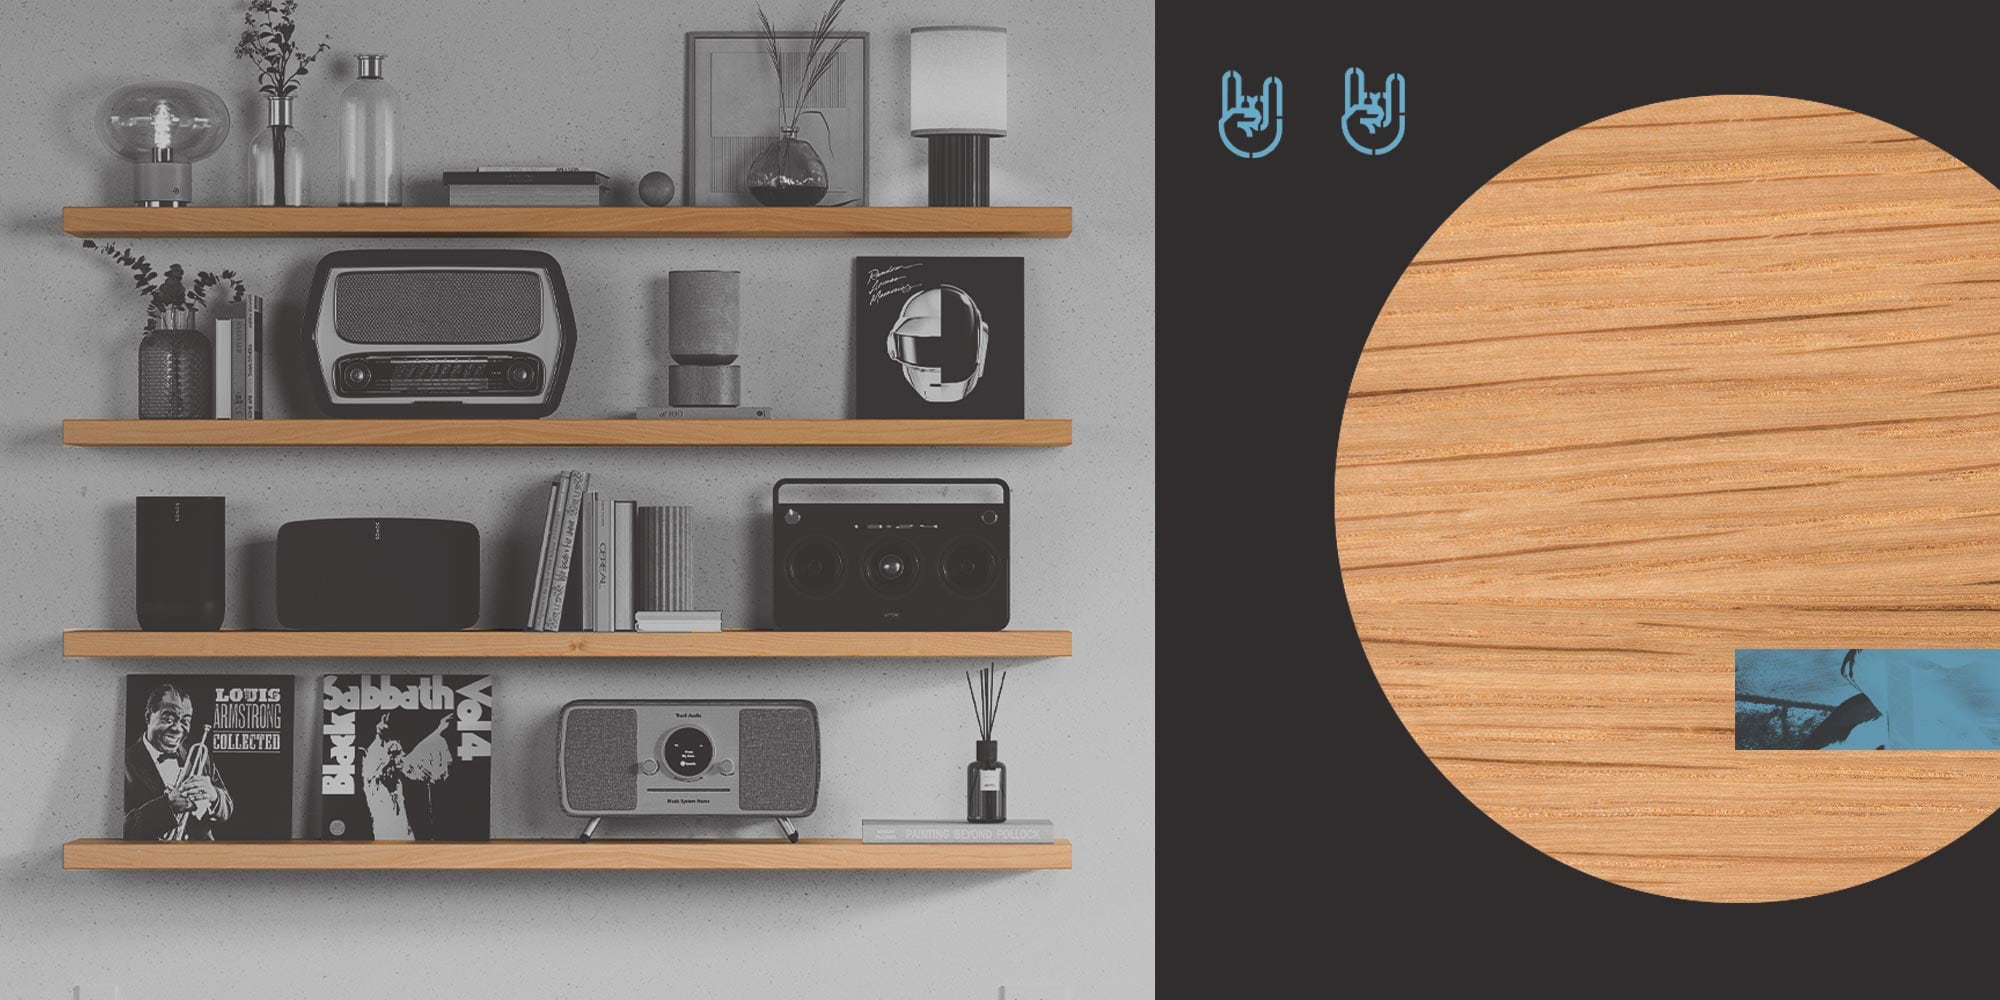
Step 7: Design and Decorate Your Shelves!

It’s time to don your beautiful, stunningly level, sturdy-as-heck floating shelves! You can either buy new knick-knacks, books, tiny plants, and other things for the shelves or use existing things within your home. Regardless, don’t leave those shelves bare! Bare shelves are BORING! And you aren’t boring, are you?!
That’s right. You aren’t. You’re a DIY, shelf-installing rockstar. You just installed one of the most gorgeous home decor pieces onto your wall all by yourself. High five!

What’s Next?
Now that you’ve successfully installed your first floating shelf, what’s next? Be prepared for the obsession that may grow within your soul—it’s turned each of us into shelf enthusiasts and expert DIYers! Are you ready to swap out your cupboards with floating, open shelving? Maybe you’re going to tackle a floating shelf closet or bookcase next! Whatever the project, know that we’re here, cheering you on, dudes (and dudettes)!

Share:
The Perfect Floating Shelf: A Conversation with Domino Magazine
Fresh Floating Shelf Ideas for 2022