
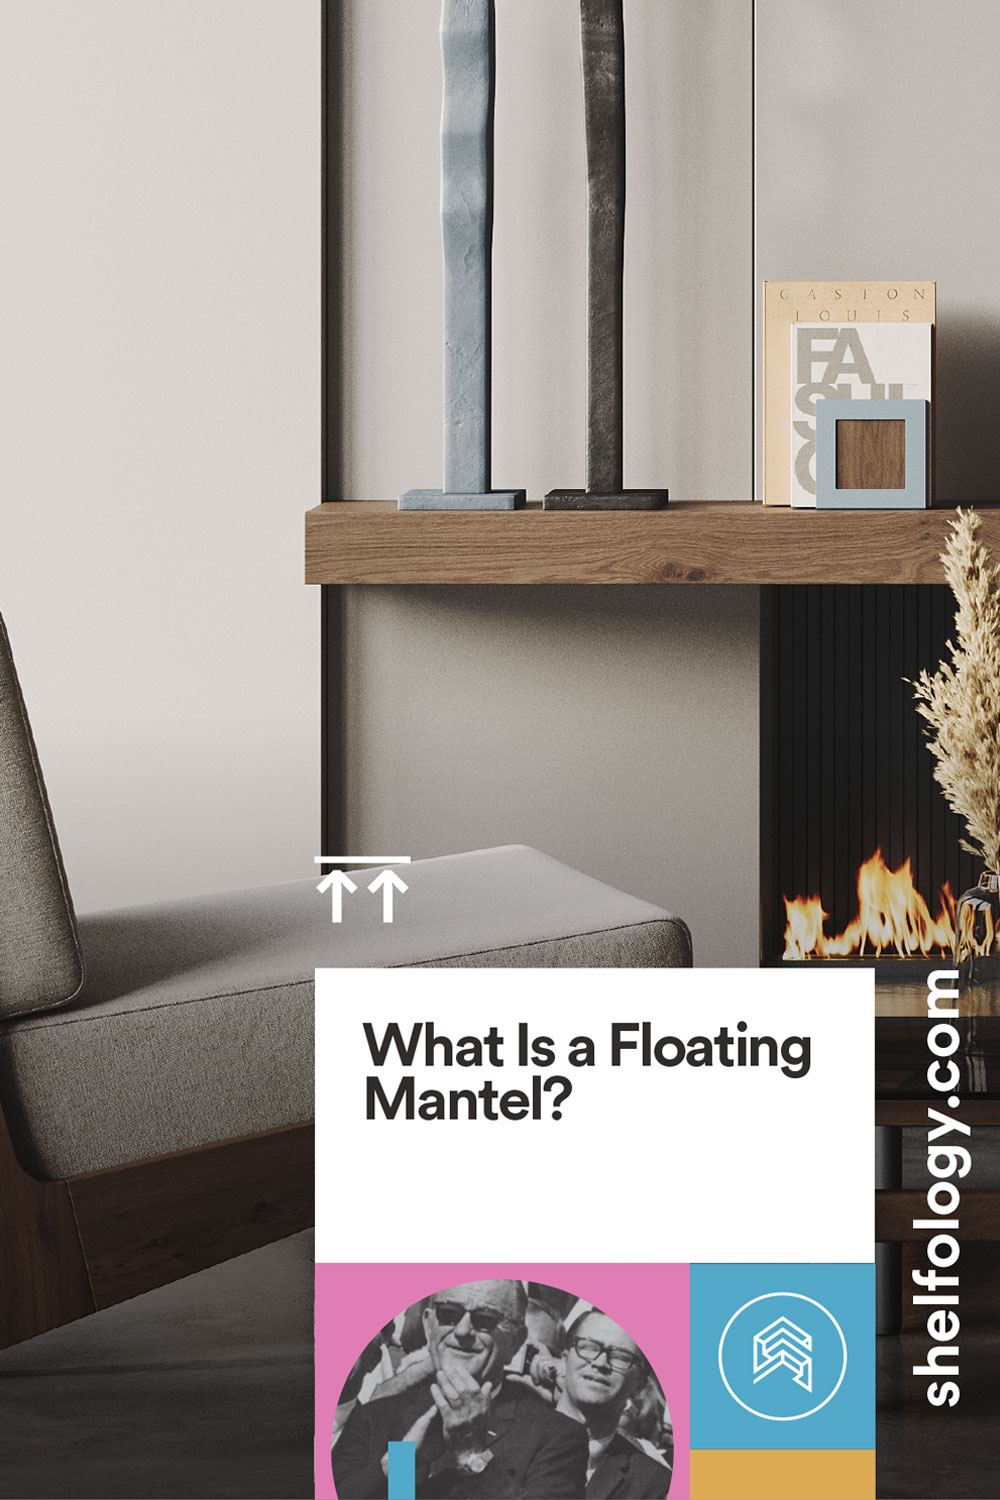
How to Install a Floating Fireplace Mantel
Have you been waiting for the perfect moment to order a brand new floating fireplace mantel for above your fireplace or insert? Well, we aren’t going to tell you what to do, but if you’re here… it might be time! Or, if you have one in hand and you’re ready to install it, we’ve got that covered, too.
In this post, we’re going to briefly cover how to install one of our beautiful Glenn Floating Fireplace Mantels. If you have a similarly-built, heavy-duty mantel that isn’t one of ours, that’s okay too (but we might be a little sad). Let’s dig right in and get that mantel installed!

Where Should I Install My Floating Mantel?

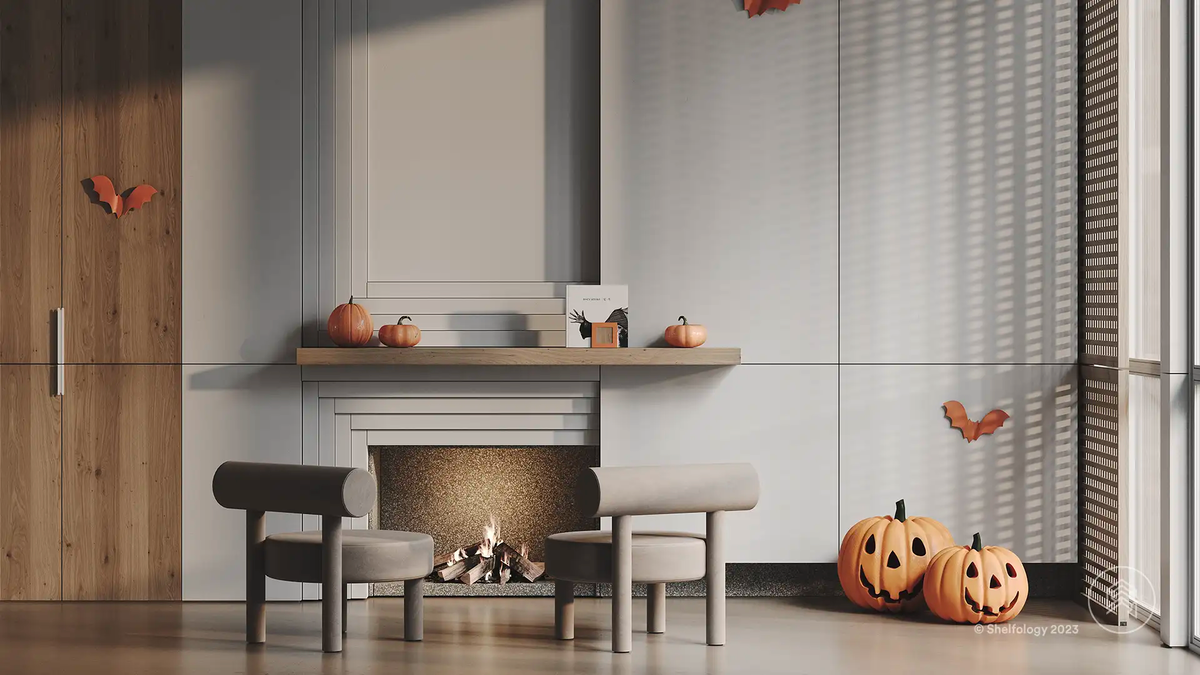
Traditionally, the mantel would go about 6” above the fireplace, centered evenly. You can put yours wherever you want, though, as long as it isn’t going to catch on fire! Don’t let anyone tell you otherwise.
What Do I Need to Install a Floating Mantel?
For this project, you will definitely need a stud finder if your fireplace is an insert surrounded by cement board (or a similar material). For this scenario, make sure you also have some drywall anchors handy.
If you’re working with a full masonry fireplace, make sure you have masonry tools (bits and proper screws). You’ll also need a drill with the bits that your mantel kit requires (for Glenn, you’ll need both a ¼” and 3/16” drill bit.) If you want everything to sit flush with the wall, you’ll also need a ¾” countersink bit.
We also recommend that you use a level to ensure… level-ness. You don’t want a lopsided shelf that stuff rolls off of! You may also find a tape measure and pencil come in handy for this job.
How to Install a Floating Mantel:
While looking over these steps, keep in mind that it’s always possible to open up your wall and add blocking (a horizontal stud drilled into two vertical studs) if you’re struggling to find sufficient studs for your install.
1. Attach Your Bracket on One Side & Level
Use your drill bit to create a pre-drilled hole on the first side. You can pencil out a rough outline before doing this to guide you and keep things centered. Once the bracket is attached on one side, lift up the other side and use your level to get the bracket perfectly leveled. You can pencil in where you need to pre-drill. Don’t attach the whole bracket to the wall just yet.
2. Add Additional Anchor Points With Drywall Anchors
If you’re drilling into masonry, you can skip this and just add as many anchoring points into your stone or brick as you can. The more you use, the sturdier your shelf will be.
For those installing the mantel on cement (or similar) board, add drywall anchors wherever you cannot hit a stud. Keeping your bracket level, pencil in where you’ll need anchors, then remove the bracket and add them where they need to go.
3. Install and Go!
All of the preparation has now been done! Go ahead and slap your bracket up and drill it in! Lastly, slide on your juicy shelf slab and step back to enjoy (and decorate) your handiwork. Good job, dude!
Selecting the Perfect Shelf for Your Mantel
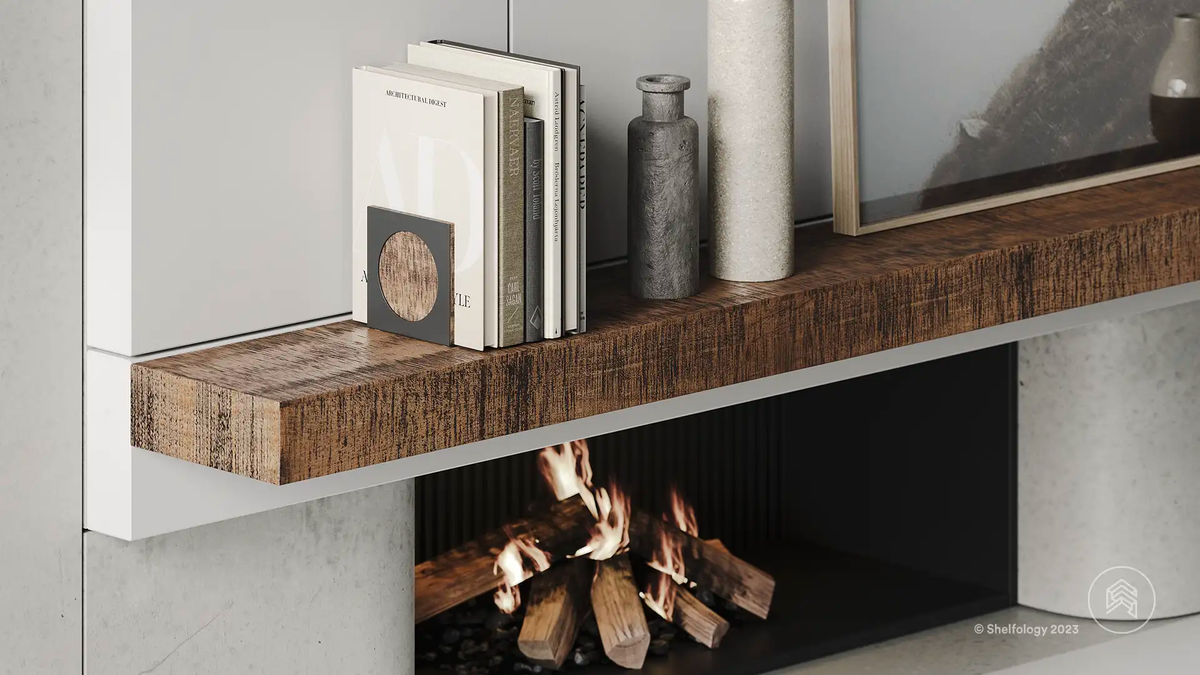
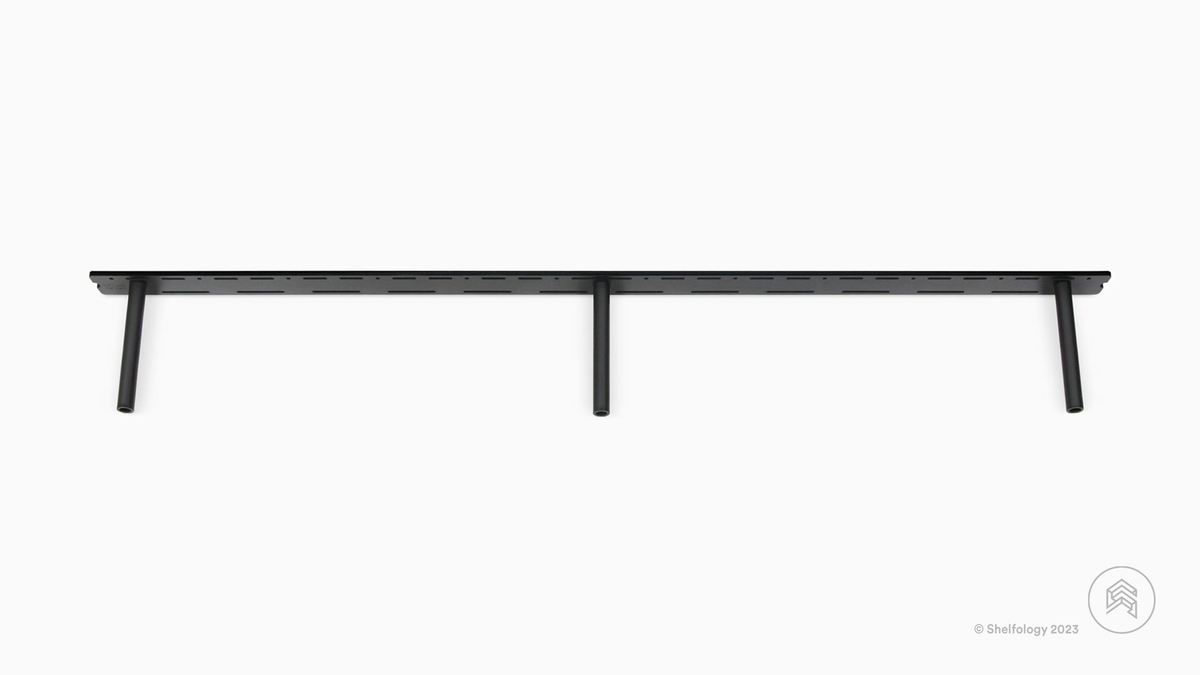
Here at Shelfology, we’re partial to shelves that don’t just disintegrate and warp after a year or less. We love those hard-working, drool-worthy shelf slabs that deserve to be up on your wall. You can browse our selection of Glenn Floating Fireplace Mantels without sacrificing the all-important quality factor. All of our shelf kits come with an all-steel wall bracket that never gives up. We know you’ll be impressed.
Related Radness


Share This Article

