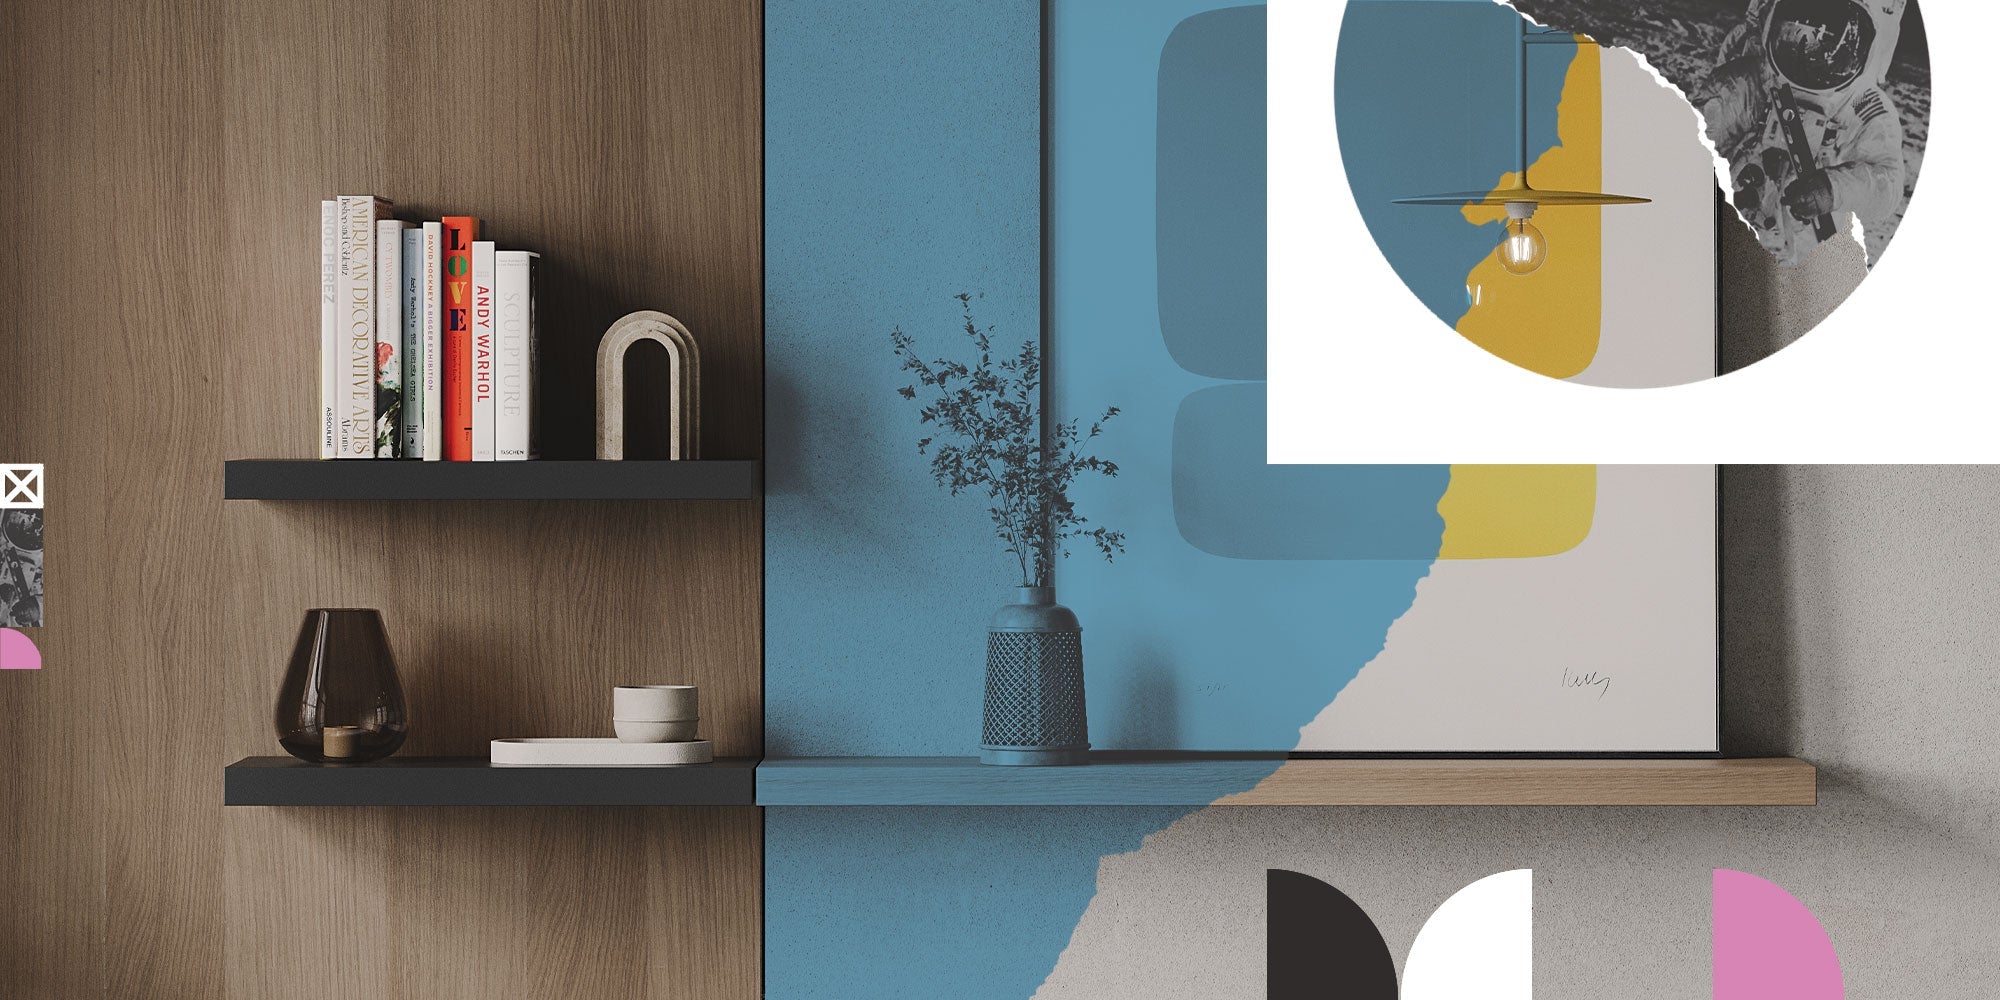
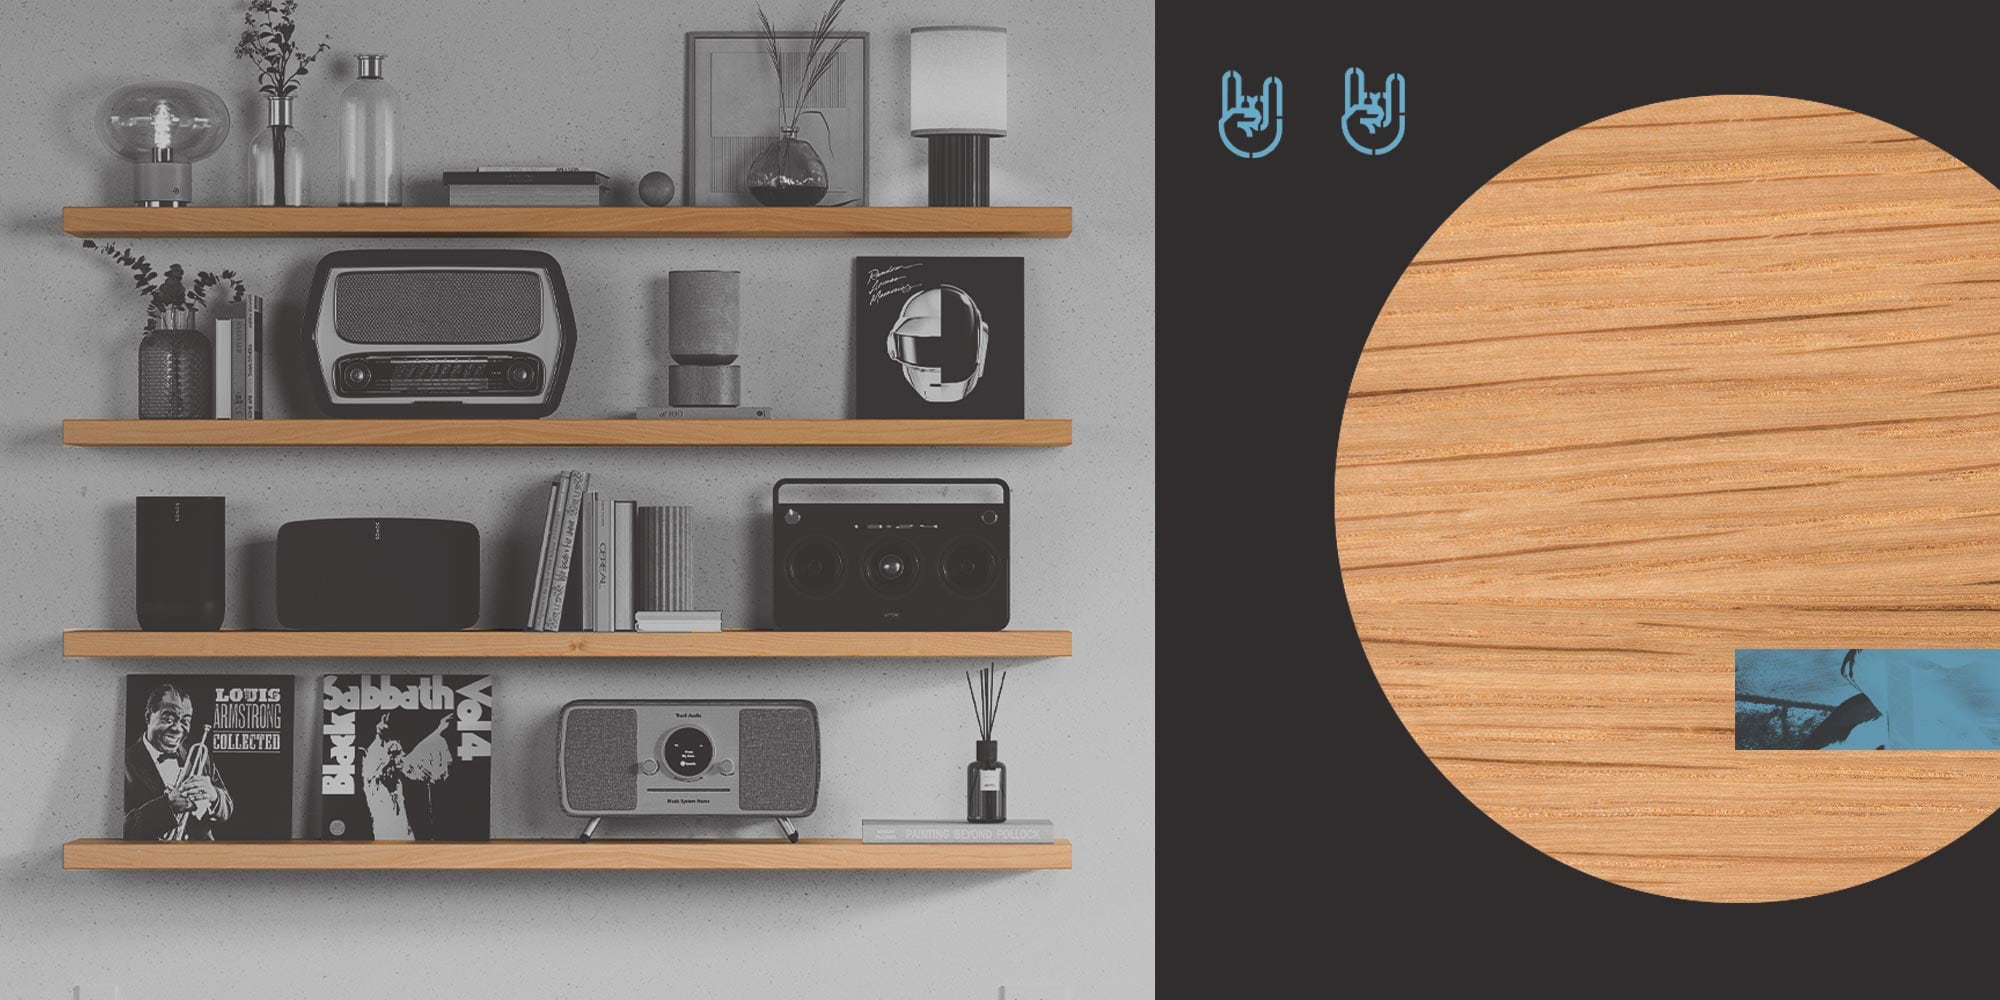
It’s 2022, and after spending 2 years staring at your vacant walls, you’ve decided that it’s high time that your space gets a much-needed update. Floating shelves not only help you organize and style your home, but they also can help accentuate your personal belongings in a way that no other piece of furniture can. Contrast your bright walls with a dark shelf for a dramatic effect, or color-match the shelving so that your displayed items seem to float effortlessly in mid-air!
However you choose to work design into your shelving endeavor, you’ll need a good understanding of the basics. If you’re going to hang floating shelves to serve as a beautiful home for intriguing decorations and beloved books, it’s important that the shelving stays on the wall! Unlike a bookcase or traditional wall shelves, floating shelves are designed to show very little, if any, hardware (the screws and brackets that secure your shelf to the wall).
Floating shelves aren’t actually floating (of course)! Poorly installed floating shelves are a recipe for disaster, as gravity couldn’t care less about your precious vases, collectibles, art, baubles, and knickknacks! For just that reason, unlike traditional wall shelves, floating shelves are secured to the wall with an inner frame. This frame is then covered with the decorative surface. It’s actually simpler than people make it out to be!
Pro-Tip: If you are here because you need to fix a previously installed floating shelf that has started to sag, check out our guide: How to Fix a Sagging Floating Shelf.
So if you’ve been considering floating shelves but are left scratching your head wondering how on earth you’re ever gonna get ‘em installed… not to worry! Your friendly neighborhood Shelfologists to the rescue. Here are easy-to-follow step-by-step directions to a perfect floating shelf installation that EVEN YOU can do!

Step 1: Get Prepared
Gather the following supplies so that you can be prepared right from the start! You will need a stud finder (a small, handheld tool that either displays a light or beeps when the device is positioned over a sub-drywall stud), a tape measure, a hammer and drill, a laser level or handheld level, and your shelving hardware (the shelf itself, the wall mount, and any screws or brackets that came with the shelving). And if you are installing a shelf in a spot that doesn't have wall studs, you will need additional hardware.
Know Your Wall
It’s time to get intimate with your blank canvas! You’ll need to do some investigating so that you can determine where to hang your new shelving. As we mentioned before, it’s highly important that you don’t skip this step! Floating shelves are best secured into wall studs—hands down. If you must, they can also be attached to plaster or drywall; if driven down this road, make sure you have the proper wall anchors (a.k.a. molly plugs) necessary for the potential load of the shelf.
Pro Tip: Wondering where is the best spot to install your floating shelves? Or wondering about arranging/layering shelves in a way that is visually appealing? Check out our Floating Shelf Styling and Decorating Guides:
- Floating Shelves Done Right: 12 Ways to Style Floating Shelves
- The Ultimate Guide to Floating Shelves
Measure Your Space
Proper measurement is the key to any construction project. And nothing will bum you out more than having to look at a poorly hung floating shelf for eternity. Avoid mistakes by carefully reading the handy dandy floating shelves instruction sheet that we include with every Shelfology floating shelf; there will be fewer holes to putty up later! Feel free to mark up your wall with chalk or super-washable markers—it will help you get a feel for the positioning. Take a few steps back to make sure that you will be happy with the final placement of your shelving units; trust us when we say that you want to ensure everything is straight BEFORE you start drilling!
Step 2: Hang Your Floating Shelves
It’s time to get down to the nitty-gritty; you’ve selected a permanent home for your shelving, and you’re armed with a shelf-hanging arsenal. Here we go.
Mark and Level
If you haven’t already marked up your wall, do so now. You’ll want to double-check all of your numbers before drilling anything, so don’t skip this step! Once you have your first drill point marked (remember, these are best placed in studs), use your level to extend the shelf silhouette; this will ensure your prized pottery collection won’t go sliding off the shelf tomorrow.

Secure and Fasten
Placing your wall mount over the shelf silhouette, drill your screws (and wall anchors, if necessary) into your pre-marked spots. Make sure that the wall mount hardware is rock-solid and flush against the wall; it’s better to find out now that the shelf needs adjusting than after a loud crash. Repeat the previous process for each shelving unit that needs hanging.

Pop-it, Lock-it, and Don't-Drop-It!
This is where the magic happens! Grab your shelving cover and slide it onto the wall mount; yes, it’s that simple. Give the shelf a wiggle and pop everything into place! Believe it or not, you’re now ready to place your belongings. Have fun organizing and reorganizing, primping, and minimizing. Congratulations, you’ve just hung one of the coolest, most functional design pieces around!

Related Radness: 9 Tips for Planning Your Floating Shelf Project
Ready to get started? Shop our selection of seriously-sexy floating shelves, floating shelf brackets, and DIY floating shelving kits today. Still unsure? Contact one of our expert Shelfologists for tips, questions, or just to chat. Float on!

Share:
Radical Floating Shelf Ideas for Every Room in Your House
A Brief History of Floating Shelves and Open Shelving